
Most framing advice stops at one purchase: UV glass, then you're done. That shortcut is how well-meant jobs still fade, cockle, or stick to the glazing. Visible light still reaches the sheet, humidity still moves the paper, and anything pressed against the surface can stain it. If you're working out how to frame art prints so a signed wildlife sheet or a pet portrait still looks honest years from now, build a preservation package, not a decorative border.
The Framing Spec Every Print Needs
A UV-filtering sheet can slow fading, yet a print on a bright wall still receives damaging visible light. The Library of Congress states that all light can damage paper and that permanent or long-term display is not recommended for paper-based materials. Place the print where exposure is limited, and treat glazing as one choice within a preservation package.
The Northeast Document Conservation Center's matting and framing guidance specifies glazing with at least 99 percent UV-filtering capacity for works on paper and photographs, along with an archival, lignin-free backing board. The Canadian Conservation Institute recommends UV-filtering glazing when exposure in a museum or gallery exceeds 75 microwatts per lumen, or when windows and lighting lack UV filters. Acrylic is lighter and less brittle than glass, and it can filter UV; check its scratch resistance before choosing it.
The table is the working specification. The William Tucker tiger art prints offer one example of the kind of printed image these choices can protect.
| Component | Recommended Spec | Why It Matters |
|---|---|---|
| Window mat | 4-ply, 100% cotton rag or lignin-free board | Keeps glazing off the paper and gives the image room |
| Backing board | Acid-free, rigid, separate from the mat | Reduces acid migration and supports the sheet |
| Hinges | Japanese kozo paper with wheat-starch paste | Allows later removal without adhesive on the print |
| Glazing | UV-filtering, rated 99% or more | Reduces ultraviolet exposure |
| Clearance | About 2 cm total in the rabbet | Keeps the print from touching the glazing |
| Display light | No direct sun or intense spotlights | Limits exposure to damaging light |
| Humidity | Below 50% relative humidity | Helps limit distortion, mould and chemical decline |
These choices involve trade-offs. Acrylic is easier to handle than glass, but its surface can scratch; a rigid backing supports the sheet, but should remain separate from it. Matting and glazing also add cost and thickness, so settle the specification before buying a frame.
How to Measure, Mat and Hinge Your Print
A frame can look polished and still put a print at risk if the opening is mismeasured or the sheet is fixed too tightly. Measure the visible image and plan the mount around the paper's movement, not around an old frame's dimensions. The Library of Congress guide to matting and hinging explains how suitable materials and mounting methods help protect works on paper.
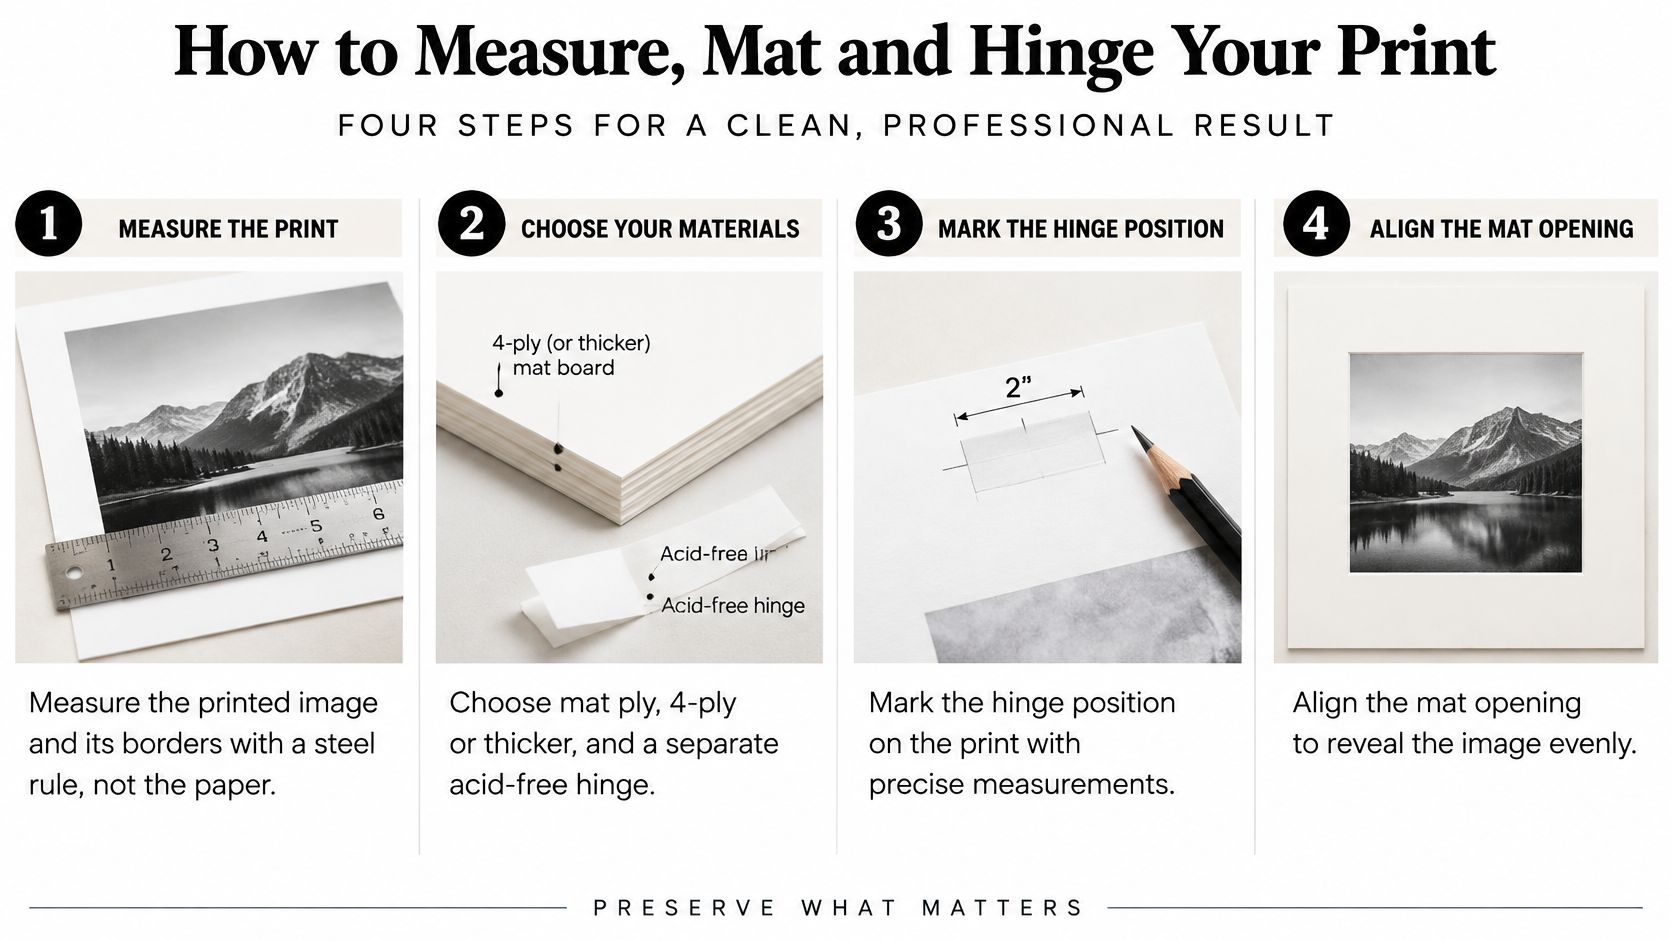
For a hypothetical 28 x 36 cm print, measure the image and any printed border separately. The paper size alone does not tell you where the mat window should fall.
- Measure the printed image with a steel rule. Note the paper's outer dimensions too, but do not use them as the window size. Deckled or uneven edges can make the visible image sit off-center if you measure only from the sheet's edges.
- Decide how much of the image the mat should reveal, then mark the window dimensions. Allow a border that gives the artwork visual room without hiding important details. For help comparing common poster formats, see poster sizing for business promotions.
- Cut the window with a sharp blade and metal straightedge. Check the measurements and square the corners before fitting the print. A rough bevel or crooked opening remains visible even when the outer frame is straight.
- Prepare two or three paper hinges, each about 2 cm long, and attach them at the top back edge with wheat-starch paste. Keep paste off the image face. Household tape can yellow and may pull paper fibers when removed.
- Attach the hinges to the back of the mat so the print hangs freely. Do not pull them taut: the sheet needs a little slack rather than tension that can cause rippling as humidity changes.
- Check the mount from the front and back. The image should look centered, no paste should show, and the sheet should not be pinned flat by tight hinges.
What a correct mount looks like
The window frames the image without crowding it, and the top hinges support the sheet without holding it rigid. A mount that can be released without tearing or permanently marking the paper is a sound choice for a print you want to keep in good condition.
Acrylic, Glass or Anti-Static Glazing Compared
Match the glazing to the medium and the room before you match it to the moulding. If a supplier can't state a UV rating, mark that cell unknown and ask before you buy. Clear doesn't mean filtering.
| Option | UV Protection | Best For | Trade-Off |
|---|---|---|---|
| UV-filtering glass | 99% or more | Framed signed or limited editions, humid rooms | Heavy and can break |
| UV-filtering acrylic | Check stated rating | Large or breakage-prone pieces | Scratches more easily than glass |
| Anti-static acrylic | Check stated rating | Pastel, charcoal, loose pigment | Costs more and needs gentle cleaning |
| Standard glass | No UV filtering | Not recommended for art prints | No UV filtering |
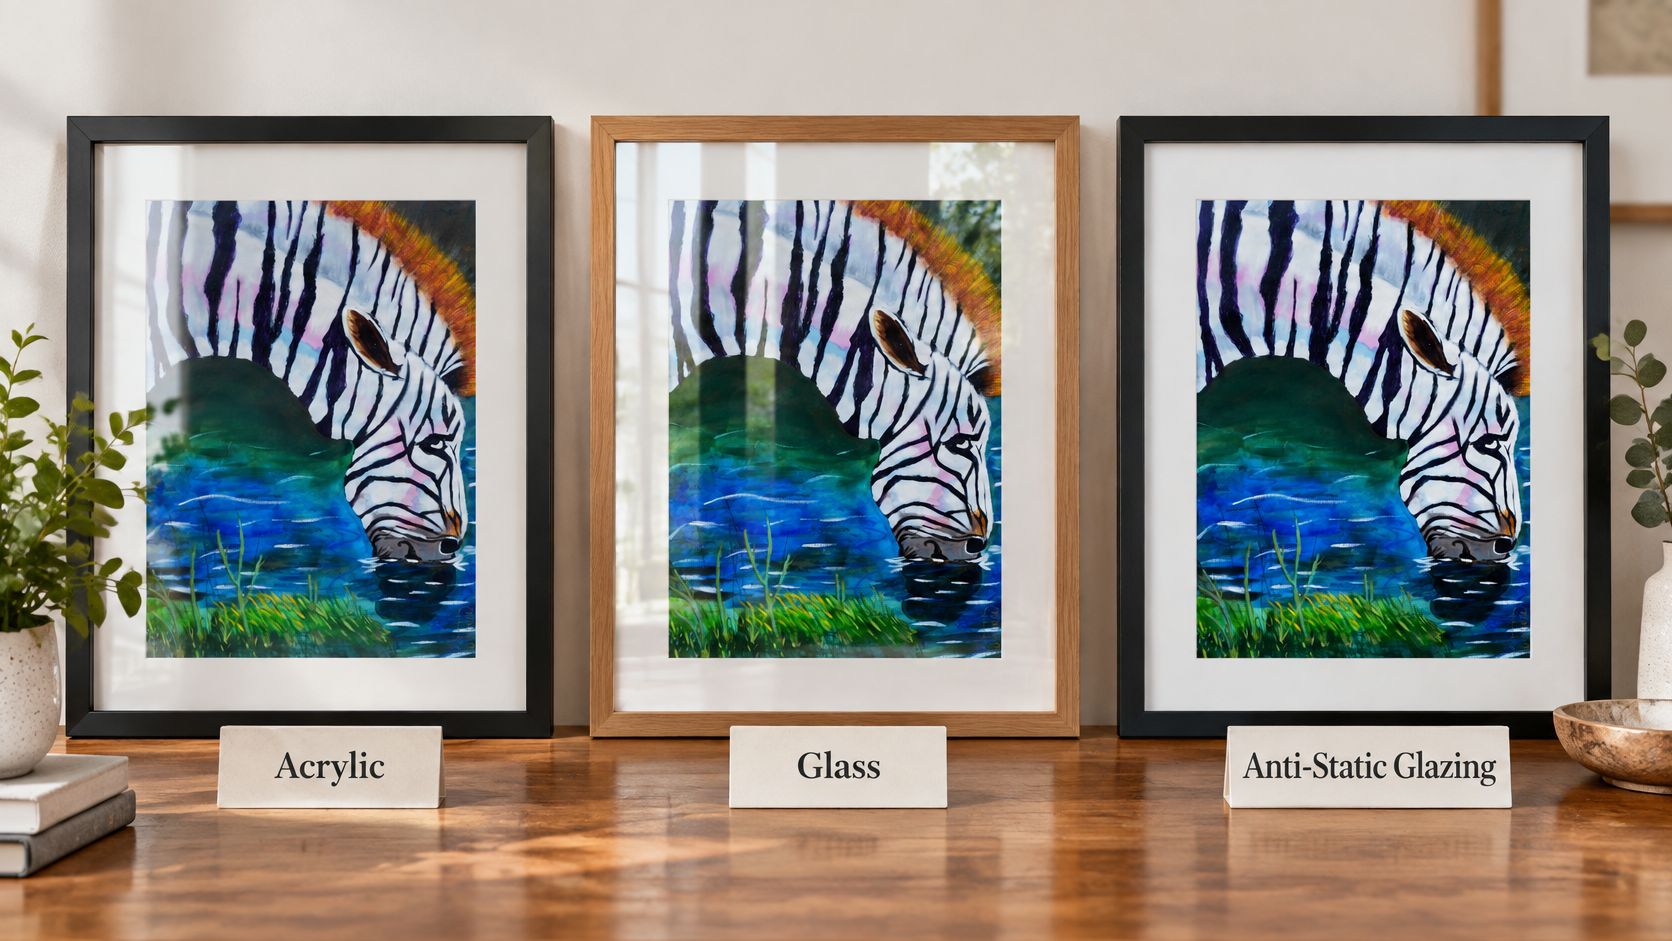
UV-filtering glass wins for a smaller signed edition in a humid room. Glass is a stronger moisture barrier than acrylic and it resists scratches, so a hallway that gets wiped down won't haze the surface. It's heavy and it breaks, so I wouldn't use it on a tall piece over a sofa.
UV-filtering acrylic wins when the sheet is large or the wall is busy. It's lighter and far less brittle, which matters if kids, pets, or a narrow stairwell can knock the frame. The trade-off is the surface. Clean it with a plastics-safe cloth, not a paper towel, or you'll put in fine scratches you can't polish out.
Anti-static acrylic is the one I'd pick for pastel, charcoal, graphite, or any loose pigment. Ordinary acrylic can lift or attract that media. It costs more and it still needs gentle cleaning, but a smudged pet portrait in charcoal is worse than the price difference.
Standard picture glass is the option to refuse. It doesn't filter UV, so it only keeps dust off.
An 11x14 wildlife print in a sunlit hallway needs stated UV filtration and a mat. A pastel pet portrait in a dim bedroom needs anti-static acrylic even if the light is already low.
Choose by medium first, then size, then how bright the wall is.
Choosing the Frame, Moulding and Size
A frame can look substantial and still fail as a preservation package. Its inside dimensions must suit the mat, and its depth must leave room for the complete assembly without pressing the print.
For example, a 28 × 36 cm print with a 5 cm window border needs a 38 × 46 cm mat window. Add another 5 cm of mat around the outside, and the mat measures 48 × 56 cm. That is the frame's minimum inside size. If the available frame is larger, use a wider mat rather than leaving the print loose in a gap.
Choose the moulding to suit the print's scale. A 1 to 2 cm profile tends to suit small prints; a 3 to 5 cm profile gives a larger wildlife or coastal image more visual weight. A broad moulding can make a small print feel crowded, while a narrow one may look slight around a large sheet.
Check the frame's rebate depth against the full stack of glazing, mat, backing and any spacer. Too little depth can press the assembly together, putting pressure on the print. For the backing, choose a clean, sealed surface or use acid-free backing to keep raw timber from touching the paper.
White and warm neutral mats are versatile. A coloured mat works best when its tone picks up a colour in the image, rather than matching the sofa. If you are building the moulding yourself, picture frames from The Knotty Lumber Co. show how a simple wood profile is cut and joined.
In a hypothetical example, a 28 × 36 cm pet portrait sits in a 48 × 56 cm frame with a 3 cm moulding and a warm white mat. Apply the same measurement method to a smaller print: measure the sheet, choose the mat border, then size the frame to the mat's outside dimensions.
How to Assemble the Frame Without Trapping the Print
Assembly order determines whether the layers protect the print or press against it. Build from the glazing inward, then secure the backing without putting pressure on the sheet.
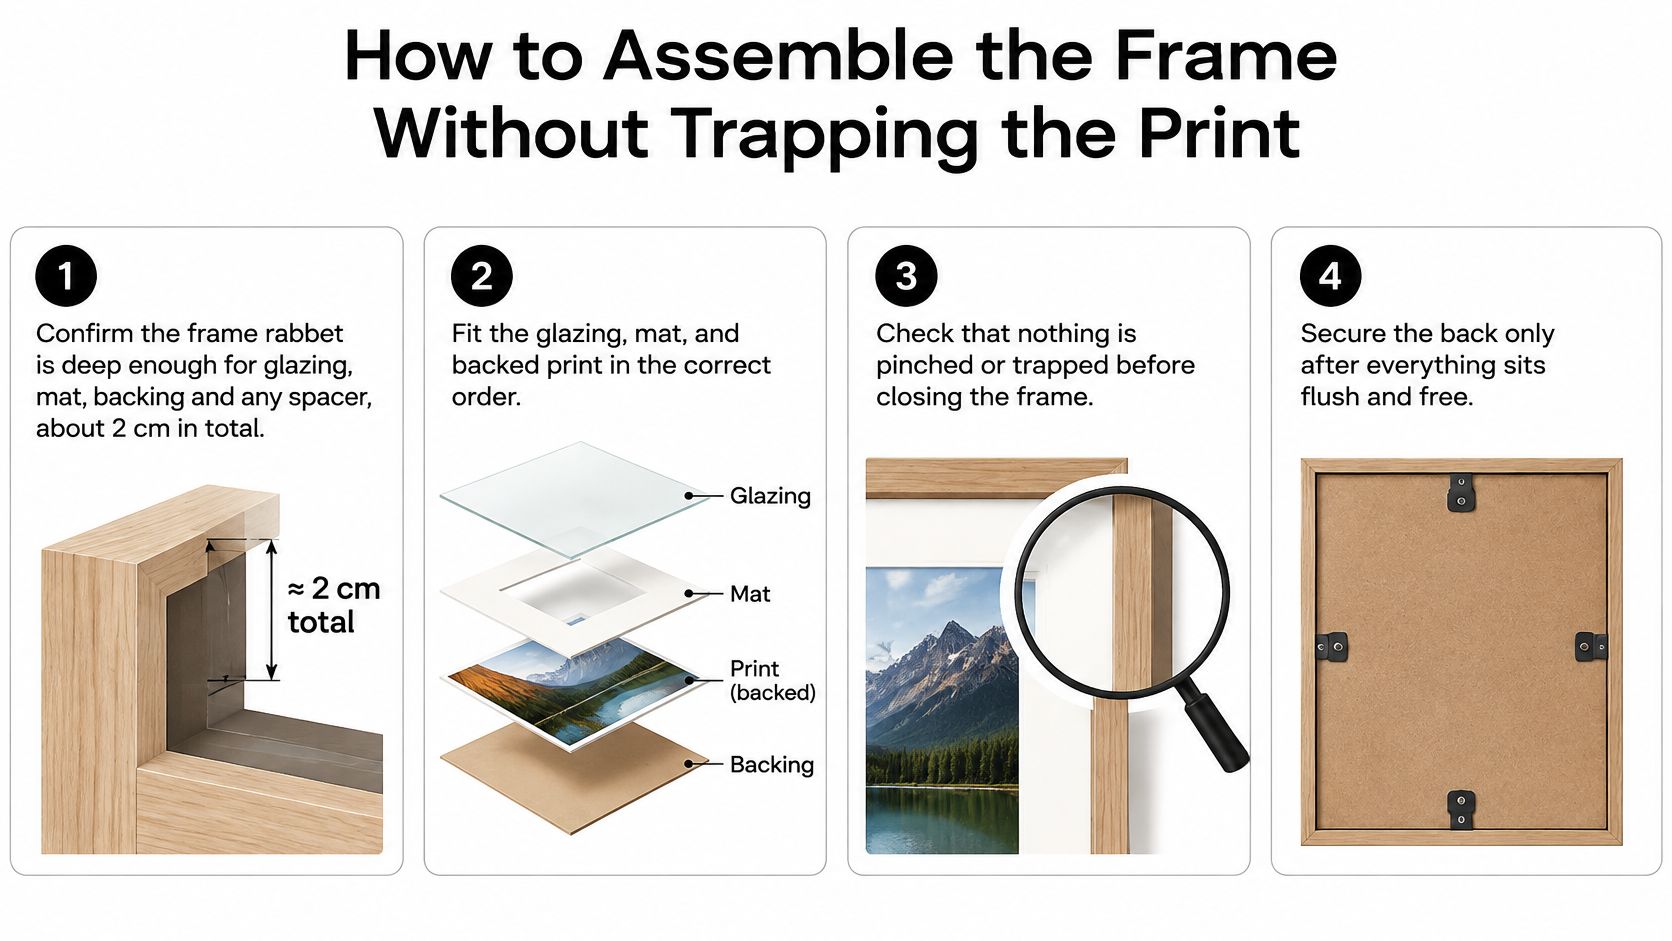
- Place the glazing in the frame first. Clean both faces and the rebate with a lint-free cloth before fitting it; dust trapped inside is difficult to remove without taking the frame apart.
- Add the mat, with the print positioned behind its window. Check that the image is centered before securing the backing.
- Fit the spacers, if used, between the glazing and the mat. They should hold the layers apart without pressing against the print.
- Add the backing behind the mat. Position points or clips so they hold the backing firmly without reaching the sheet.
- Finish with a dust cover over the back. Seal the edges against dust, but don't make the package airtight.
Before hanging the frame, check the front for dust and the edges for gaps. For a different assembly approach suited to stretched work, see this guide to framing canvas paintings.
Where to Hang Prints and Problems to Fix
Bright light and damp walls can undo the protection of a carefully framed print. Canadian Conservation Institute guidance recommends keeping relative humidity for general paper collections below 50%; humidity above 60% speeds chemical and biological deterioration and increases paper distortion. The institute also recommends UV-filtering glazing when UV exposure exceeds 75 microwatts per lumen and lights or windows lack filters. UV glazing helps, but it cannot make a sunny wall safe: light damage accumulates even behind a filter.
Choose a dry interior wall, away from direct sun, intense spotlights, kitchens and bathrooms. In humid coastal rooms such as New Orleans, an exterior wall can expose paper to damp conditions. Rotate prints if practical, and check periodically for condensation, cockling, mould or pigment transfer. For help deciding where a wildlife or pet print will work in a room, see how to choose wall art.
| Symptom | Likely Cause | Fix |
|---|---|---|
| Wavy or cockled paper | Humidity swings or pressure from the frame | Move the print away from damp walls and keep room humidity below 50% |
| Condensation inside glass | Moisture trapped inside the frame package | Have the package opened, dried and resealed with a breathable cover |
| Print stuck to glass | No window mat or spacer | Add a window mat or spacer |
| Yellowing or fading | Direct sun or spotlights | Move the print and use UV-filtering glazing |
| Dust or mould spots | Damp conditions | Move the print to a drier wall; ask a conservator about mould |
| Pastel or charcoal smudging | Static from ordinary acrylic | Switch to anti-static acrylic |
You can move a print or address dust yourself. Mould and stains that have marked the image need a conservator, not a kitchen towel.
Hang the frame securely, using two D-rings or screw eyes on the upper sides and picture wire with a little slack so it rests flat. Match the wall hooks to the framed weight and use hooks rated well above it. A small frame can hang from a single central hook.
Build Your First Framing Spec Sheet
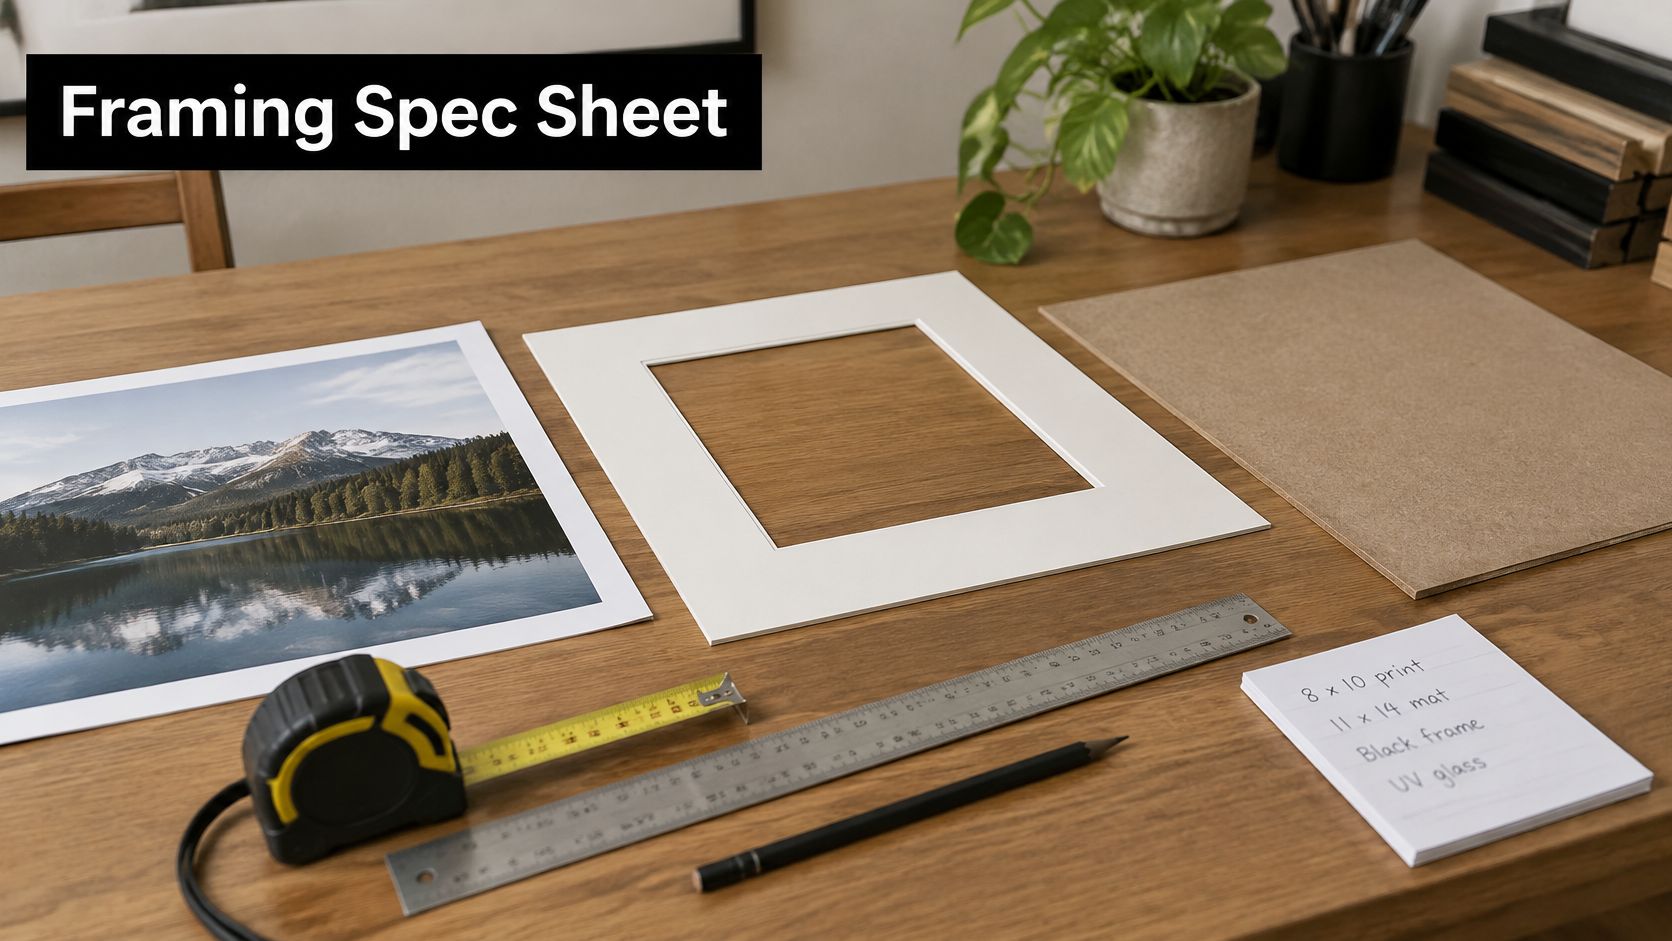
A frame is a preservation package, not just a border. UV-filtering glazing cannot protect a print from bright placement indefinitely, so record both the materials and the intended hanging location before buying.
Use this fillable spec to compare options and check that the parts work together:
| Decision | Your choice | Check before ordering |
|---|---|---|
| Print and image size | ______ | Record the paper size and the printed image separately |
| Mat and window | ______ | Allow the window to overlap the print edge slightly |
| Backing | ______ | Choose an archival, acid-free board |
| Hinges | ______ | Specify reversible attachment at the top edge |
| Glazing | ______ | Match it to the medium and frame size |
| Frame and rabbet | ______ | Confirm the rabbet holds the full package without pressing on the print |
| Hanging location | ______ | Note direct sun, dampness and nearby heat sources |
For a 28 x 36 cm wildlife print, write down the paper size first, then the image opening and the mat's outside dimensions. A 4-ply window mat with UV-filtering acrylic is one possible specification. Before ordering, confirm the frame's rabbet can accommodate the mat, print, backing and glazing together. That check can prevent an attractive frame from turning into a tight, damaging fit.
Prints are available from William Tucker Art alongside original paintings, so a print can be chosen with its eventual display in mind.
Use the completed sheet to compare frame choices, then check the finished package against the hanging conditions. A carefully chosen frame and UV glazing still cannot compensate for persistent bright light or a damp wall.
William Tucker Art offers wildlife, coastal and pet prints alongside original paintings. Visit William Tucker Art to choose a print and plan its framing with the protection and display conditions in mind.