
You've got a blank wall, a few animal prints saved on your phone, and no clear idea whether they'll feel collected or crowded once they're up. The trick isn't to buy more art or follow a rigid decorating formula. It's to make a few connected decisions about subject, layout, framing, light, and who needs to enjoy the finished wall.
An animal art wall can be expressive and personal while still being planned like a gallery installation. Thoughtful spacing, suitable hardware, and conservation-minded lighting help the work look right now and remain in good condition over time.
Planning Your Animal Art Wall from the Inside Out
Start by deciding what the collection is about. A wall of pet portraits feels intimate; a grouping of birds or big cats has a stronger species focus; a mix of wildlife and beloved pets can tell a broader story about the animals that matter to you. You might instead build around a mood, such as coastal wildlife in soft blues or a lively menagerie with varied colors and poses.
That choice gives you a useful filter while shopping. If a new print doesn't support the subject, palette, or feeling you've chosen, it may belong somewhere else. For more help turning an overall room style into an art direction, see this guide to choosing wall art.
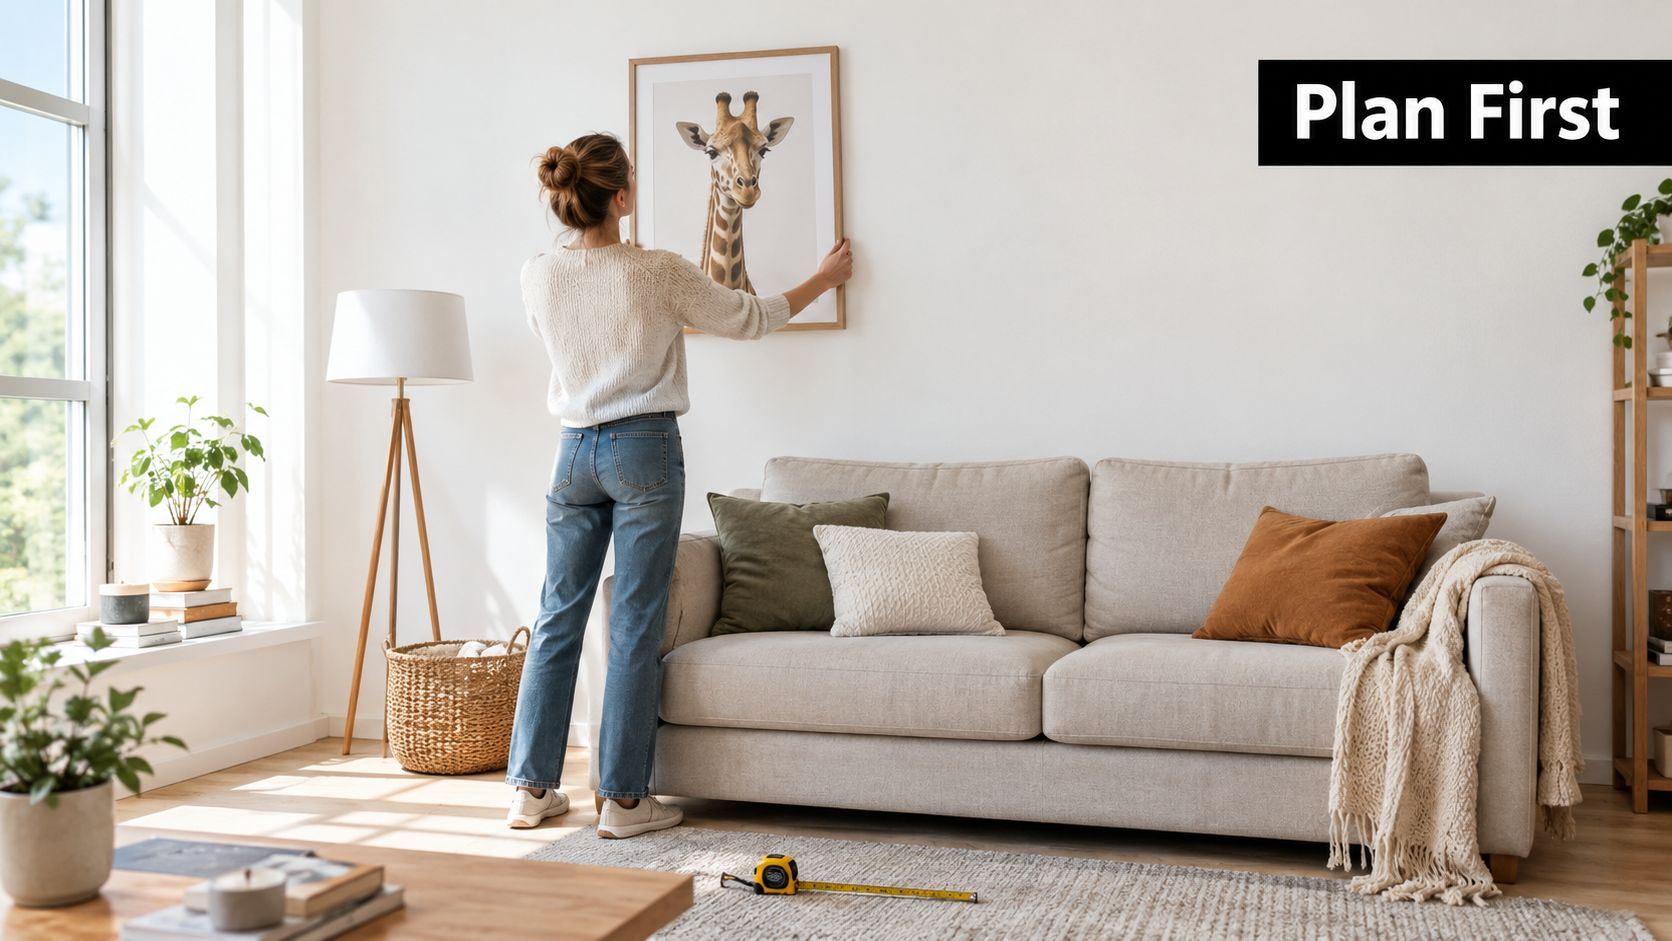
Animal subjects have appeared on walls for a very long time. Chauvet-Pont d'Arc Cave in France contains 435 catalogued animal images, and its painting history reaches back at least 36,500 years, a reminder that animals have long been part of how people make meaning through images (background on cave painting and Chauvet).
Turn a mood board into a collection plan
Before you order anything, measure the wall and the furniture beneath it. Note the wall's usable width, the height of the furniture, and anything the grouping needs to avoid, such as a thermostat or doorway. Then make a simple list of the works you need: one focal piece, supporting images, and any smaller accents.
A generous-looking collection doesn't have to fill every inch. What matters is the relationship between the art and the wall, not reaching an arbitrary piece count. Lay out candidate works on the floor, or use paper rectangles in their approximate sizes, and check whether the grouping looks balanced from the main entrance to the room.
Practical rule: Choose the collection's story before choosing its frames. A clear thread makes varied subjects feel intentional.
Choosing a Layout Template That Fits Your Space
A layout should respond to the wall's shape, the furniture below it, and the artwork you already own. Choose the template first, then check whether your available pieces fit it. For instance, a broad wall above a sofa can support a linear row, while a stair wall often suits a diagonal arrangement that follows the rise.
Use a consistent gap to make separate frames read as a group. A starting spacing of 5–8 cm can work well, but test the arrangement at full size before you hang anything. Narrow gaps create a tighter cluster; wider ones give each work more room and can make a grouping feel less unified.
| Layout | Best for | Piece count | Visual energy |
|---|---|---|---|
| Symmetrical grid | Wide, orderly walls above a sofa or sideboard | A coordinated set | Calm and structured |
| Salon-style cluster | Walls with mixed frame sizes and subjects | A varied collection | Lively and layered |
| Linear row | Long, shallow spaces such as a hallway or dining area | A small or medium series | Clean and easy to scan |
| Diagonal staircase | Stair walls and tall, sloped spaces | A sequence that follows the wall | Directional and active |
Match the layout to the room
A grid is the easiest choice when frames share dimensions or when the collection has a formal feel. It's less forgiving if frame sizes vary widely, since uneven edges quickly interrupt the pattern. A salon-style cluster is more flexible: it can combine a pet portrait, a wildlife painting, and a small sketch, provided one visual feature connects them, such as frame finish, mat color, or subject.
For a compact sample wall above a sideboard, try a centered row of three related animal prints. For a less formal living-room wall, arrange a larger central portrait with smaller pieces around it, then check that the outside edges form a pleasing overall shape. Paper templates help you compare both versions without putting holes in the wall.
Don't treat a layout as a puzzle that has only one correct answer. What works is the arrangement that respects the furniture, gives the images breathing room, and feels balanced from the places where people sit or walk.
Framing, Matting, and Sizing the Collection
Frames help a mixed collection feel connected, but matching every detail isn't essential. A consistent profile or finish can provide rhythm across different subjects; small variations in frame size or shape can keep the wall from looking too uniform. For example, a detailed pet portrait, a wildlife painting, and a smaller animal sketch can sit comfortably together if their frames share a finish and the mats relate in color.
Use mats to give the artwork space, not to compete with it. A quiet white or warm neutral often lets fur, feathers, and painted backgrounds stand out. Keep the mat treatment consistent across the group, but adjust its width to suit the piece: a small sketch can look swallowed by an oversized mat, while a larger image may need more breathing room.
Choose materials for the artwork and the room
Glass and acrylic both protect framed works, but they behave differently. Glass has a familiar, crisp finish and can be heavy; acrylic weighs less and is less prone to shattering, but can scratch. On a bright wall, UV-protective glazing can help reduce exposure risk, though it doesn't make direct sun harmless.
Paper, textiles, and some pigments are particularly sensitive to light. Conservation guidance recommends keeping sensitive works around 50 lux and UV output below 75 microwatts per lumen, because time under light matters alongside brightness (Texas guidance on recommended light levels). A lamp that seems dim can still expose a work for too long if it stays on continuously.
For canvas, consider the surface and edges before adding a frame. A floating frame can define the artwork without covering its sides, while a traditional frame can bring an unframed canvas into line with paper works. This guide to framing canvas paintings can help you compare approaches.
The useful rule is to let the subject lead. A bold animal portrait can carry a simpler frame; a small, delicate work may benefit from a mat that gives it visual presence without overwhelming it.
Hanging the Wall with Confidence and Accuracy
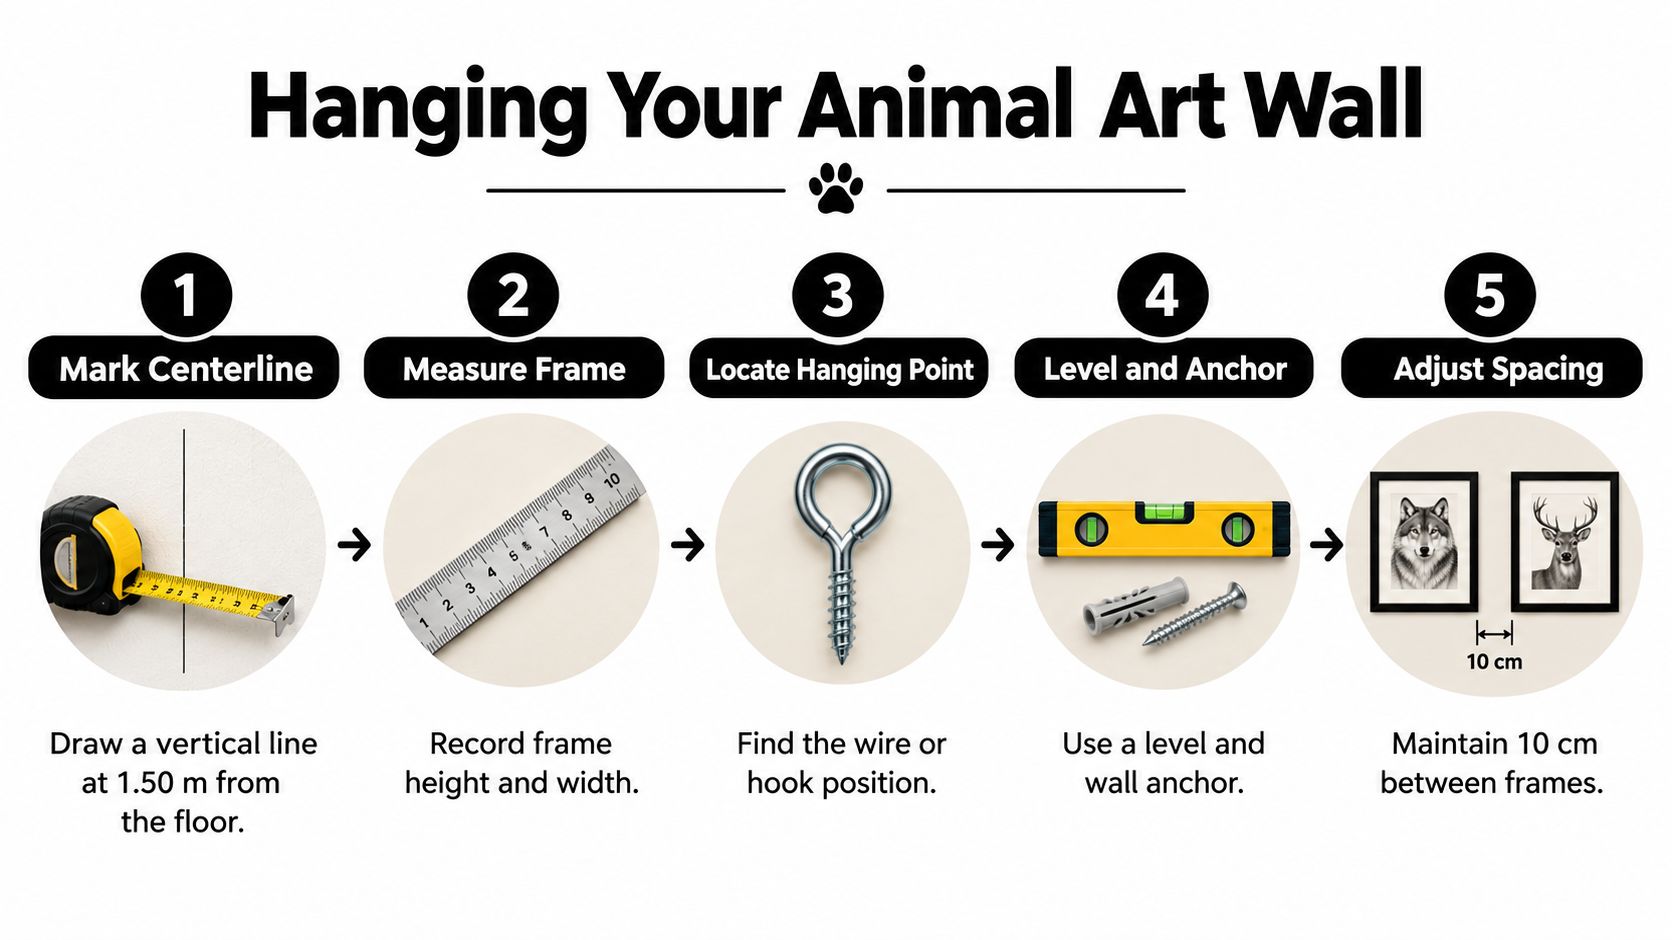
The frame's center should generally sit around 1.50 m above the floor, a common gallery convention. That's a starting point, not a command: furniture, ceiling height, and seated viewing can all call for adjustment. The important part is to plan the finished position of each frame, not just where a nail seems convenient.
Measure the frame, then find the fixing point
A reliable sequence is to measure the framed work, mark the intended centerline, calculate the upper edge, then account for the distance between that edge and the D-ring, wire, or cleat. Gallery installations use this measured approach to keep works aligned across a grouping (Canadian Conservation Institute guidance on light and installation considerations).
The common mistake is putting the hook where you want the top of the frame to land. That ignores the hardware offset, and wire sag can lower the work further than expected. Measure the hanging hardware while the frame is held level, and include that distance when marking the wall.
Mock it up before making holes
Trace each frame onto paper and cut out the templates. Tape them to the wall, then check the spacing, outside edges, and relationship to the furniture from across the room. This step catches crooked groupings and awkward gaps before you reach for a drill.
Choose fasteners for the wall, not just the frame. A stud, a rated drywall anchor, or a masonry fixing may be appropriate depending on the substrate and load; check the hook and hardware ratings before hanging. For a collection that includes horse imagery, this guide to equestrian wall decor offers another subject-specific source of inspiration.
Hang the focal piece first, then work outward while checking each frame with a spirit level. Before stepping away, confirm that every fixing is secure, each frame sits as planned, and the grouping clears doors, vents, and busy routes through the room.
Styling the Wall for Different Rooms and Audiences
The same animal image can feel peaceful in a bedroom and commanding in a living room. Choose subject, scale, and arrangement according to how people use the space. A room for rest often benefits from one calm portrait or a restrained palette; a social space can carry more color, detail, and visual variety.
In a living room, a larger wildlife work can anchor the wall above a sofa, with smaller pieces supporting it. A nursery or child's room can feel more personal with gentle animal portraits, but hang works securely and away from places where children may pull or bump them. A home office can use a single subject with enough presence to make the wall feel considered without adding visual clutter behind a desk.
Use the room's character as a guide
An entryway is a natural place for a compact group of welcoming animal images. A dining room can handle a bolder menagerie, especially when its colors echo a rug or table setting. In each case, coordinate rather than match: let one or two colors in the art relate to the room, and keep other elements simple enough that the pictures remain the focus.
Pet portraits and wildlife images can share a wall if they have a visual bridge. That might be a similar palette, a common frame finish, or an idea such as family and habitat. Without a bridge, the works can feel like two unrelated collections placed side by side.
Animal imagery belongs to a global visual tradition, not only a European one. Paintings of wild pigs in Indonesia's Maros-Pangkep region have been dated to more than 43,900 years ago, while a Sulawesi wild pig image has been dated to about 45,500 years ago (Britannica's account of Chauvet and early animal art). That broad history can inspire a wall that reflects different environments and species. For further ideas on bringing the natural world indoors, explore nature-inspired wall art.
Keeping the Wall Beautiful and Accessible for Years
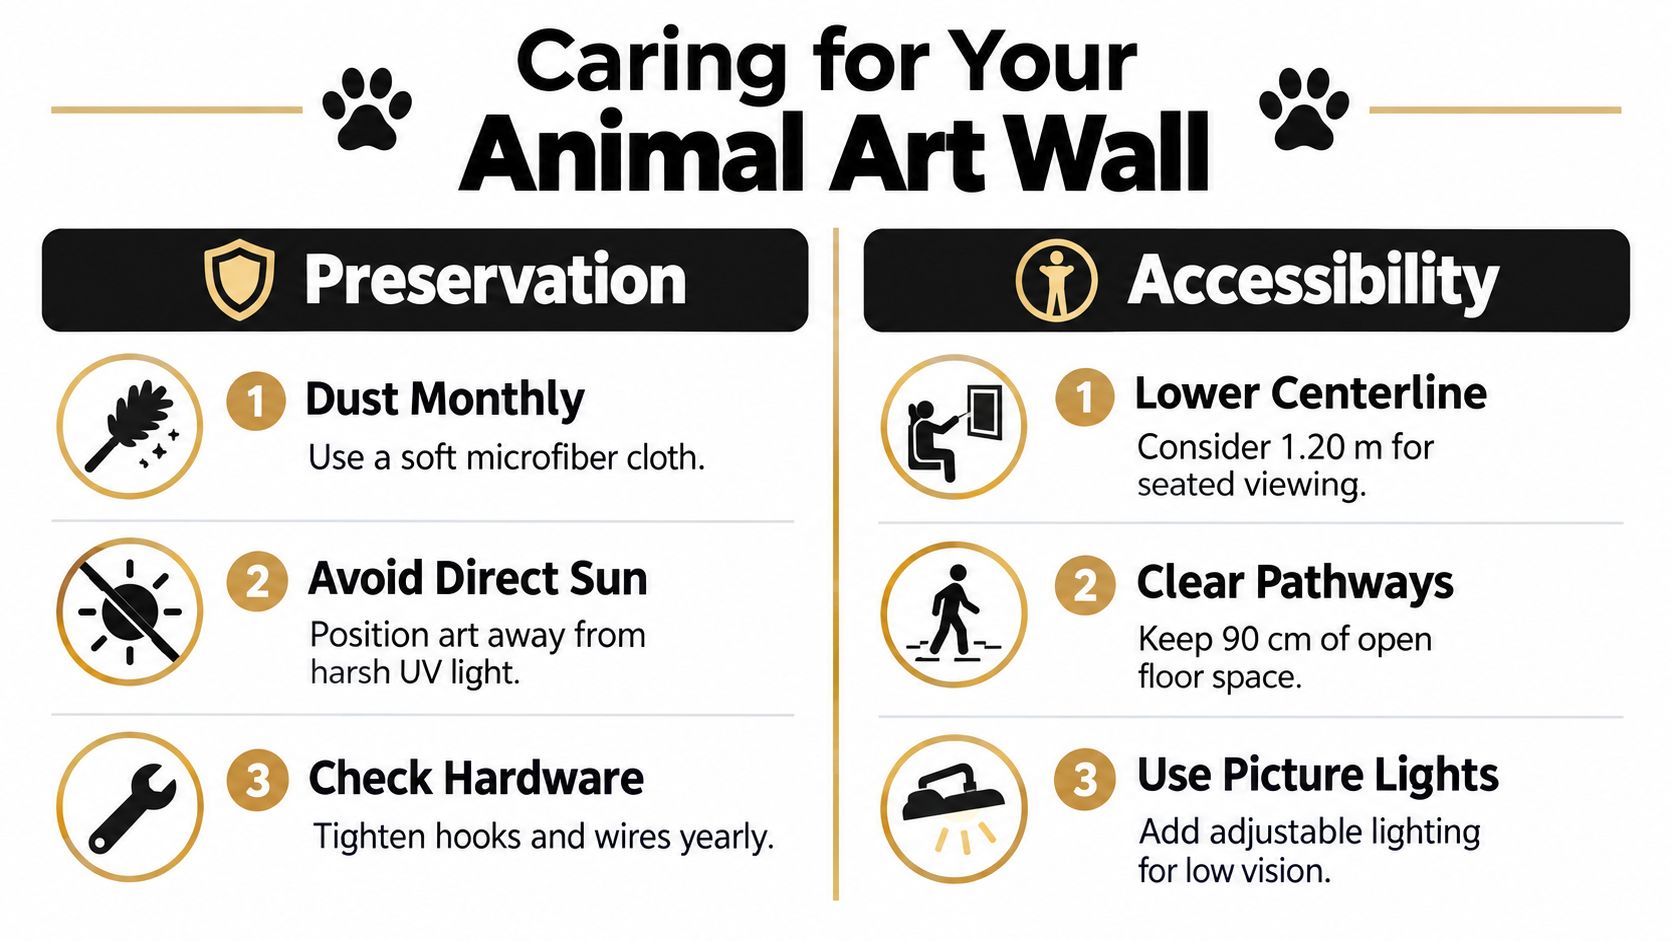
The most striking wall in a room may not be the safest place for original art. Direct sun and ultraviolet exposure can contribute to deterioration in pigments, paint media, supports, and varnishes. Government care guidance recommends filtering daylight, limiting illumination, and monitoring temperature and relative humidity (GSA guidance on artwork care and maintenance).
For a watercolor, textile, or other sensitive work, keep light low, use UV-filtering glazing where suitable, and turn display lighting off when nobody is in the room. If the work is especially light-sensitive, consider rotating it rather than leaving it exposed indefinitely. In humid or seasonally changeable rooms, a hygrometer can help you notice shifts before they become a problem. Kitchens, bathrooms, fireplaces, and sunny windows all deserve extra caution because heat, moisture, or direct light can make them less suitable than they appear.
Make the collection easier to experience
A welcoming animal art wall considers more than standing eye level. Leave clear routes through the room, place at least some works where seated viewers can engage with them, and watch for glare that makes images difficult to see. Captions in high contrast or large print can offer context; a QR-linked audio description can add a spoken layer without changing the artwork.
Tactile companion materials can help blind and low-vision visitors connect with a subject. Wildlife-art institutions have used 3D relief, touch, and sound to support engagement with art (accessibility information from the National Museum of Wildlife Art). In a home, a framed original might be paired with a separate raised map or tactile study, preserving the artwork while offering another way to explore it.
Before calling the wall finished: Check the light, confirm the hardware, look for glare, and ask whether someone using a wheelchair or relying on audio or tactile information can enjoy the display.
Bringing It All Together on a Real Animal Art Wall
A good animal art wall doesn't have to be elaborate. It needs a clear thread, a layout that fits the room, frames that support the work, and hardware installed with the finished position in mind. Paper templates and consistent centerlines are simple habits that prevent many avoidable mistakes.
A common assumption is that the brightest wall makes the best display. For sensitive art, light and UV exposure can shorten the life of the work, so a less sunlit wall may be the wiser choice. Another overlooked priority is access: a collection can pair visual art with audio or tactile interpretation, rather than assuming every viewer experiences images in the same way.
Take these small steps to move from saved inspiration to a finished wall:
- Choose the thread: Write down the subject or mood that will connect the collection.
- Mock up the arrangement: Measure the works, cut paper templates, and test the layout on the wall.
- Check the location: Notice direct sun, likely glare, and whether the display works for seated and low-vision viewers.
William Tucker Art offers wildlife and pet portrait collections, including work that brings animals and environmental themes into a home. Browse William Tucker Art to find a subject that fits your wall, then plan its placement with the same care you'd give the rest of your collection.