So, you're ready to dive into the vibrant, flowing world of watercolor? That's fantastic! This guide is here to wash away any of that initial intimidation and get you genuinely excited to pick up a brush. We'll cover everything from the must-have supplies to your very first simple projects.
Trust me, watercolor is pure magic. Its see-through quality, a touch of unpredictability, and surprisingly forgiving nature make it the perfect starting point for anyone new to painting.
Why Start With Watercolor Painting?

There's a good reason so many people are drawn to watercolor painting for beginners. It’s an art form that just feels alive. The pigments seem to dance and blend on the paper in ways that are often beautifully unexpected.
Unlike thicker, opaque paints like acrylics or oils, watercolor is all about transparency. You build up layers of luminous color, letting the light from the paper shine through. It creates this incredible glow that’s hard to achieve with anything else.
Lots of aspiring artists assume watercolor is difficult, but I've found it's surprisingly forgiving. If a color comes out too dark, you can often just lift it off with a clean, damp brush. Accidentally spill a drop of water? It might just turn into a "happy accident" that adds a unique touch to your piece. This gentle learning curve is a massive confidence booster when you're just starting out.
The Growing Popularity of a Timeless Art Form
The love for this classic hobby is booming. Thanks to the rise of DIY art and tons of accessible online tutorials, more people than ever are discovering how therapeutic it can be. It's not just a feeling, either—the global watercolor paint market was valued at a whopping USD 4.45 billion in 2023 and is expected to more than double by 2032. This surge is all thanks to a growing interest in creative pastimes. You can find more insights on the watercolor paint market's growth over on Dataintelo.com.
Watercolor is a conversation between you and the medium. Sometimes you lead, and sometimes you just have to follow where the water and pigment want to go. The real key is embracing that partnership—that's how you'll fall in love with the process.
This journey is about so much more than just putting paint on paper. It's about:
- Mindfulness and Relaxation: The focus it takes to paint can be incredibly meditative. It’s a wonderful escape from the stresses of daily life.
- Creative Expression: It gives you a simple yet powerful way to bring your ideas and feelings to life visually.
- Accessible Creativity: You really don't need a huge studio or a ton of expensive gear to start making beautiful art.
My goal with this guide is to give you the solid foundation and confidence you need to kick off your own creative adventure. Let's get started
Choosing Your First Watercolor Supplies
Walking into an art store for the first time can be completely overwhelming. The sheer number of paints, brushes, and papers is enough to make anyone’s head spin. The good news? You only need a few key items to dive into the world of watercolor painting for beginners. Let's cut through the noise and focus on what you really need to get started.
Watercolor is having a moment, and its popularity just keeps growing. The global market for these supplies hit an impressive USD 3.84 billion in 2024, and it's not slowing down. You can actually read the full research on watercolor market growth to see how manufacturers are keeping up. For you, this means there are more high-quality, affordable, and beginner-friendly options available than ever before.
Your Essential Beginner Toolkit
You don't need to break the bank on the most expensive gear right out of the gate. Your first goal is to get good quality basics that will work with you, not against you. A frustrating tool is the fastest way to kill your creative spark.
Here’s a simple list to guide you:
- Paints: I always recommend starting with a basic "student-grade" watercolor pan set. Pans are little solid cakes of paint that are a dream for beginners—just add water.
- Paper: This is the one place you really don't want to skimp. Look for cold-press watercolor paper that’s at least 140 lb (300 gsm). This weight is key to preventing the paper from buckling into a wavy mess when you add water.
- Brushes: You can do almost anything with just three brushes. Grab a medium round (size 6 or 8) for most of your work, a small round (size 2 or 4) for tiny details, and a larger flat brush (about 1-inch wide) for covering big areas with a wash of color.
My best advice? Don't get bogged down by the idea of needing every possible color or brush. A limited palette is a blessing in disguise because it forces you to learn color mixing—one of the most valuable skills you'll ever develop as a painter. Your creativity will absolutely flourish with fewer, better tools.
To make things even easier, here’s a quick shopping list you can take with you.
Beginner's Watercolor Shopping List
| Art Supply | What to Look For | Beginner Tip |
|---|---|---|
| Watercolor Paints | A student-grade pan set with 12-24 colors. | Pans are portable, less messy, and you only use what you need. |
| Watercolor Paper | Cold-press, 140 lb (300 gsm) or higher. | Good paper is non-negotiable. It makes a huge difference! |
| Brushes | A small round, a medium round, and a 1-inch flat brush. | Look for synthetic bristles; they are durable and affordable. |
| Palette | A simple plastic or ceramic palette. | The plastic lid of your paint set often works perfectly. |
| Water Containers | Two jars or cups. | Use one for rinsing brushes and one for clean water to mix paints. |
| Paper Towels | Any standard roll will do. | Essential for blotting brushes and lifting excess paint from paper. |
With these few items, you'll have everything you need for your first painting session.
The Great Paint Debate: Pans vs. Tubes
As you shop for paints, you'll quickly notice two main types: pans and tubes. So, which one is right for you?
For anyone just starting out, my vote is always for pans. They are compact, incredibly portable, and far less wasteful since you only activate the small amount of paint you need with a wet brush. They're just simpler to manage.
Tubes, on the other hand, contain a soft, paste-like paint that you squeeze onto a palette. While they are fantastic for mixing large, vibrant quantities of color for bigger paintings, they can be messy and a bit much to handle when you're still learning. A simple pan set of 12-24 colors will give you more than enough to learn the fundamentals. For an even more detailed breakdown, check out our guide on the top 10 must-have art supplies for beginners.
Don't Forget the Extras
Beyond the main supplies, a couple of simple household items will round out your setup perfectly. I always tell my students to use two water cups—one for rinsing dirty brushes and one for clean water. This one little trick is a game-changer for keeping your colors bright and preventing them from getting muddy.
You'll also want a palette for mixing your colors, though the plastic lid of your new pan set will likely do the job just fine. Finally, grab a roll of paper towels. You'll use them constantly for blotting excess water from your brush or even lifting color right off the paper to create highlights.
And that's it! With these items in hand, you are officially ready to start painting.
Getting to Grips with Your Brush
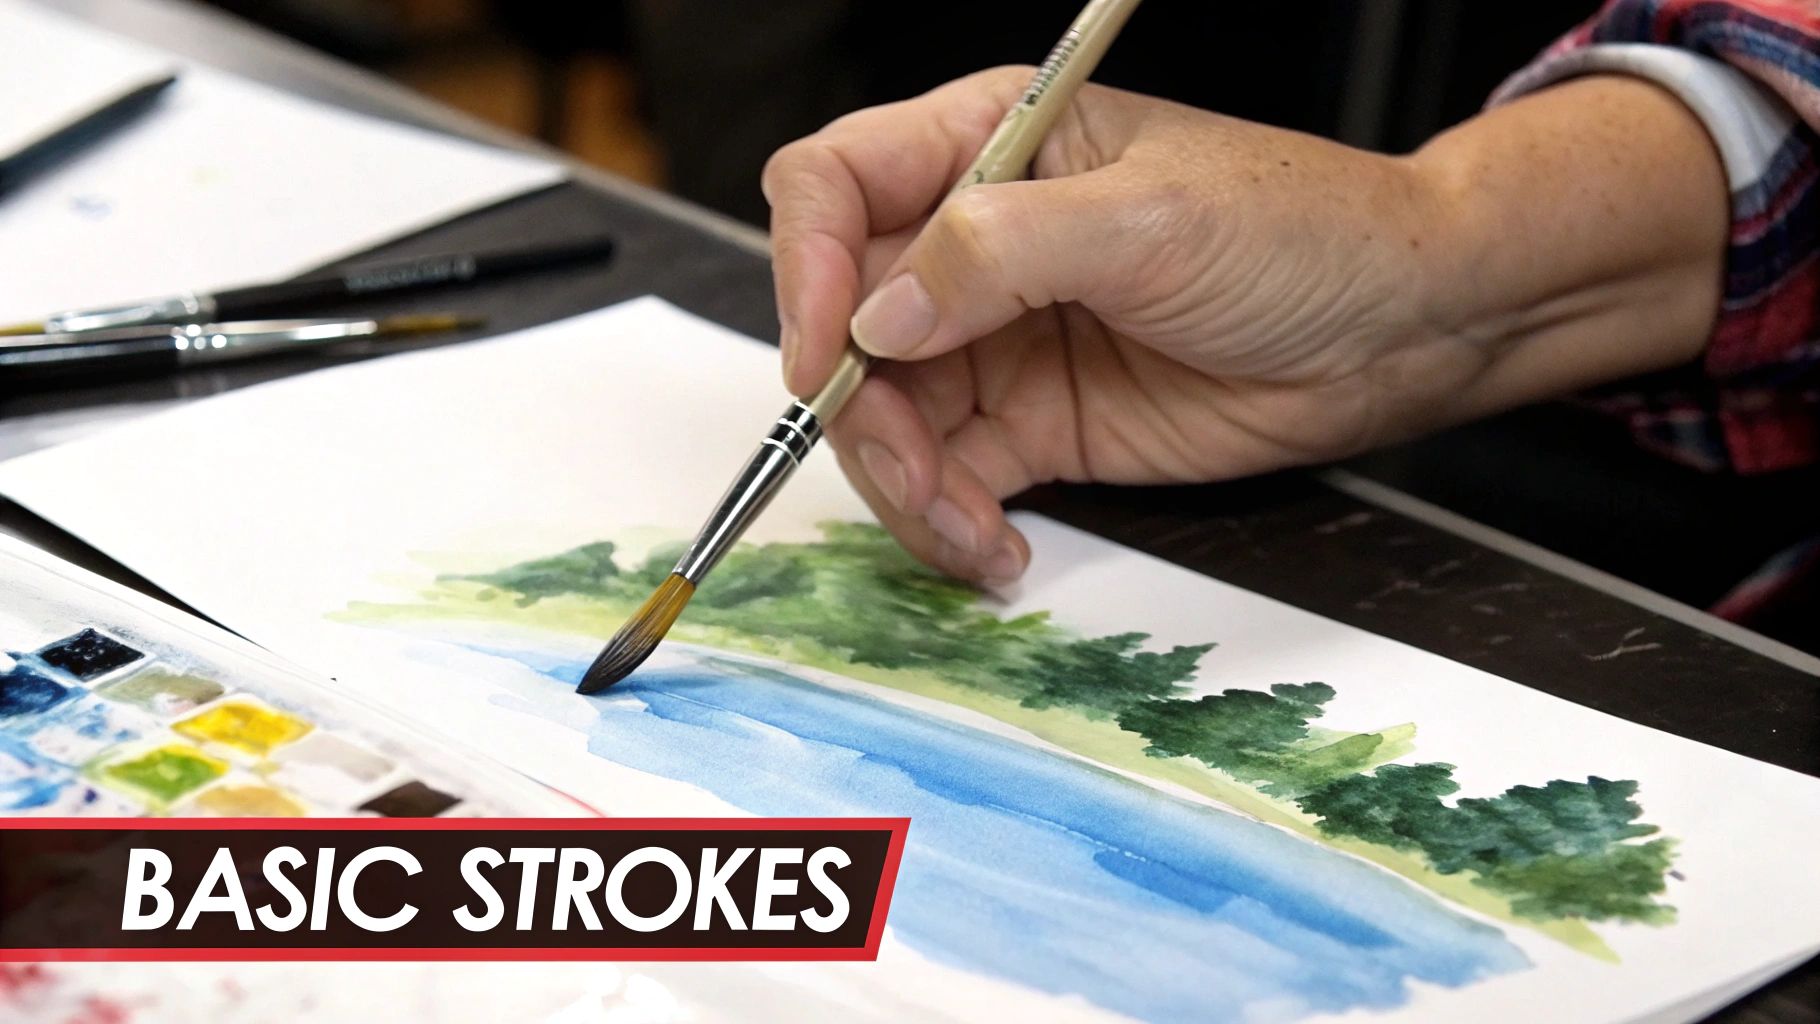
Alright, let's get to the fun part—actually putting paint on paper. This is where the magic really starts. Your brush is more than just a tool; it's the key that unlocks everything from vast, sweeping skies to the most delicate, tiny details. We're moving from theory to practice now, building your confidence with a few core techniques that are the foundation of nearly every watercolor painting you'll ever see.
Think of these as your essential building blocks. The goal here isn’t to be perfect right away. It's all about getting a feel for the unique dance between water, paint, and paper. You’ll be surprised how quickly you start to build muscle memory and an intuitive sense of control.
Let's dive in, starting with the simple art of a flat wash.
Creating a Smooth, Even Wash
A flat wash is a single, even layer of color. It's the secret to those flawless blue skies, simple backgrounds, or any large area you want to cover smoothly. The trick? Keeping a consistent amount of water and pigment in your brush from the very first stroke to the last.
- Mix a generous puddle of color on your palette. Seriously, you'll probably need more than you think. Running out of paint halfway through is a sure way to get unwanted lines.
- Dip a large, flat, or round brush into your paint mixture. You want it fully loaded but not dripping everywhere.
- Start at the top of your paper and make one confident, horizontal stroke from side to side. You’ll see a little "bead" of paint and water form at the bottom edge of your stroke.
- Load your brush again and make another stroke just below the first one, overlapping it just enough to pick up that bead. Keep this going all the way down the page, keeping your strokes even and your brush consistently loaded.
Just as a flat wash is the foundation for so many paintings, the primary colors are the foundation for every other hue you can imagine.
This idea—that all complex colors come from simple beginnings—is a lot like how mastering these basic brush techniques will unlock your ability to create more advanced art.
Achieving Soft Blends with Wet-on-Wet
Ever wonder how watercolor artists get that signature dreamy, soft-focus look? The wet-on-wet technique is how it’s done. It’s all about applying wet paint onto paper that’s already wet, which lets the colors bloom and blend together on their own.
First, take a clean, damp brush and wet an area of your paper. You’re looking for an even sheen, not big puddles of water. Now, load your brush with some color and gently touch it to the damp paper. Just watch as the pigment spreads and feathers out. It's mesmerizing! Try dropping a second color next to the first and see how they mingle and merge. This is perfect for galaxies, misty landscapes, and soft floral petals.
Defining Edges with Wet-on-Dry
When you need crisp, defined lines and sharp edges, you'll want to switch to the wet-on-dry technique. It's exactly what it sounds like: applying wet paint directly onto dry paper.
Because the paper is dry, the paint stays exactly where you put it. This gives you maximum control. This is my go-to method for painting details like the stems of flowers, the sharp lines of a building, or any element that needs a clean, distinct border. Try painting a simple square or a leaf with this method and notice how clean and contained the edges are.
If there's one secret to mastering watercolor painting for beginners, it's learning to control the water. Wet-on-wet teaches you to let go and embrace a little beautiful chaos, while wet-on-dry shows you how to take charge and create with precision. You need both in your toolkit.
Lifting Color for Highlights and Quick Fixes
One of the most forgiving things about watercolor is your ability to "lift" color right off the paper. This little trick is a lifesaver for creating bright highlights or fixing small mistakes.
While a wash of paint is still damp, take a clean, slightly damp brush (I call this a "thirsty" brush) and gently blot an area. The brush will soak up the paint, leaving a lighter spot behind. You can also use a crumpled paper towel to dab at the wet paint, which creates a more textured lift. It's a brilliant way to create soft clouds in a sky or add a bright reflection to an object without ever touching white paint.
Mixing Colors with Confidence
You really don't need a mountain of paint tubes to create something beautiful. Honestly, the real magic of watercolor painting starts the moment you learn to mix your own colors. It’s a game-changing skill that not only saves you money but also gives you total control over your art.
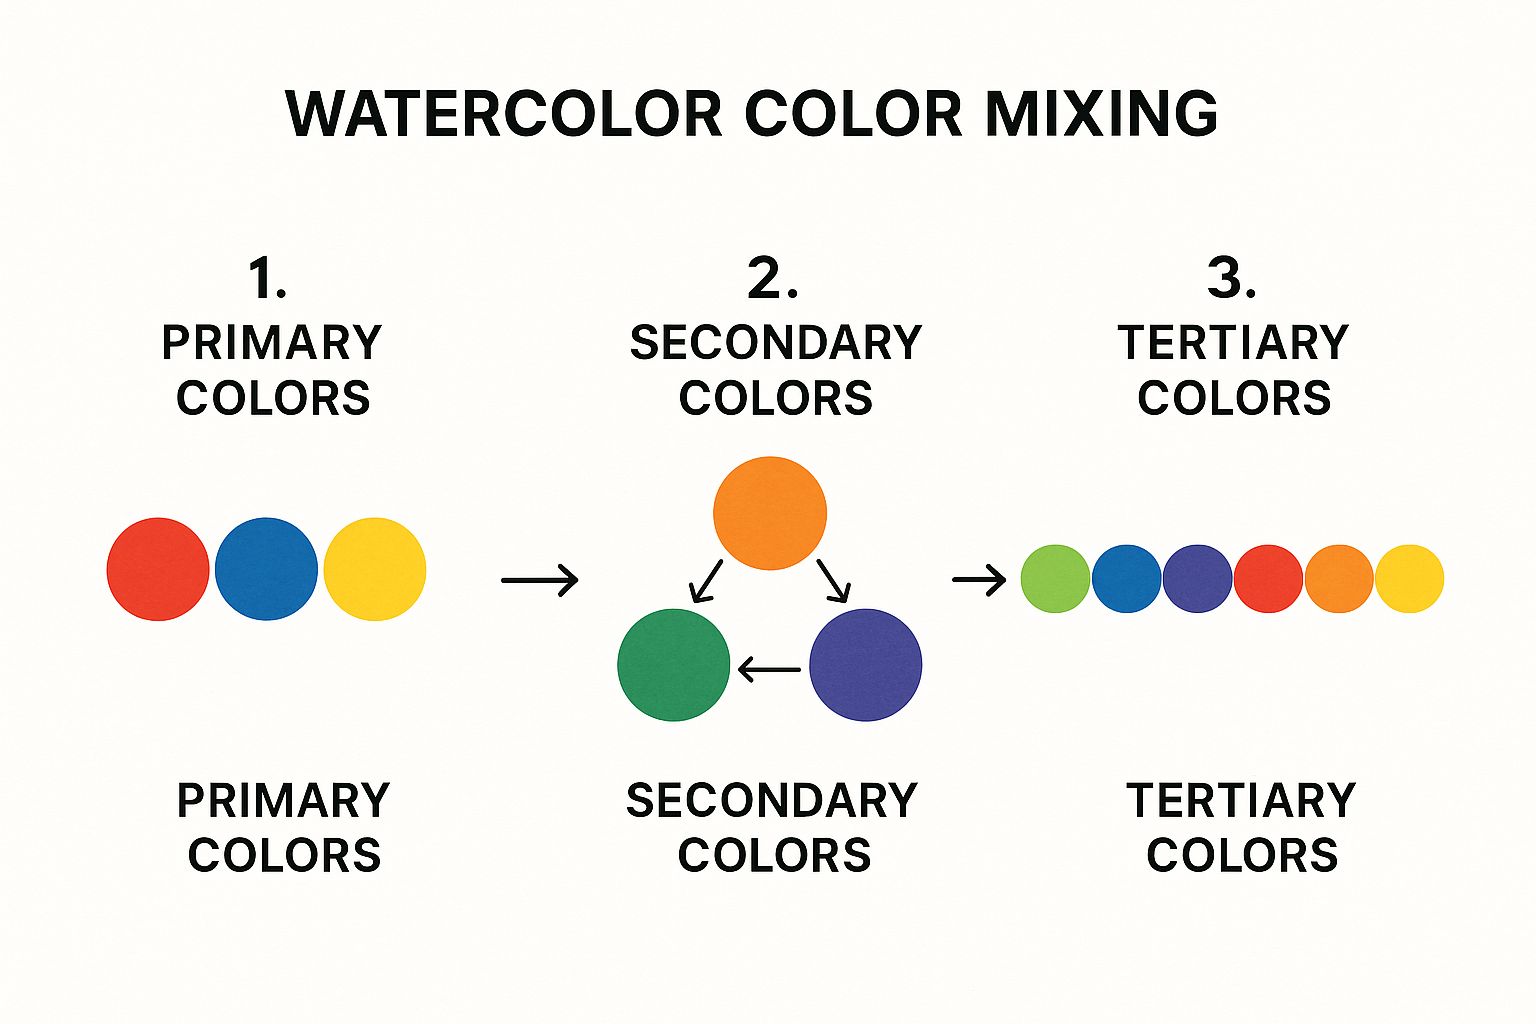
Let's forget intimidating color theory for a minute. Just think of it like this: your primary colors—red, yellow, and blue—are the only three ingredients you need in your creative kitchen. From these, you can cook up just about any other shade you can dream of.
When you blend two of them together, you create what are called secondary colors. It's a simple, satisfying process you can watch happen right there on your palette.
- Red + Yellow = Orange
- Yellow + Blue = Green
- Blue + Red = Purple
That's it. This basic knowledge is your ticket to creating an entire universe of color from just a few tubes of paint.
Build Your Own Color Chart
One of the best things you can do for yourself, especially when you're starting out, is to create a color mixing chart. This isn't just a homework assignment; it's a personal reference guide you’ll come back to again and again. It becomes your own color dictionary, made with your specific paints and paper.
Start by painting little squares of your primary colors. Then, mix equal parts of each pair to paint the secondary colors right next to them. If you want to go a little deeper into the craft of combining pigments, there's a fantastic guide on how to mix paint colors that really breaks it down.
The next step is to mix a primary color with the secondary color right next to it on the wheel. This is how you get those wonderfully nuanced tertiary colors—think reddish-orange, blue-green, or a sunny yellow-orange. These are the shades that really bring a painting to life.
The Secret to Mixing Earthy, Natural Tones
But what about the colors you see in nature, like rich browns and soft grays? These are often called neutrals, and you might be surprised to learn how easy they are to mix. I promise, you may never need to buy a separate tube of brown paint again.
To mix a lovely, warm brown, all you have to do is mix all three primary colors together. The fun part is adjusting the recipe. A little more red will give you a warmer sienna, while a bit more blue can cool it down into a deep umber.
For many new painters, learning to mix neutrals is a real "aha!" moment. It's when you realize that a limited palette isn't a limitation at all—it’s an invitation to become a true color artist.
If you're after a sophisticated gray, try mixing a primary color with its direct opposite on the color wheel (its complementary color). For example, mixing red with green or blue with orange will give you a beautiful, muted gray. Don't be afraid to experiment here. Add more water to get lighter, more delicate grays, or use less pigment for something deep and dramatic.
Getting comfortable with these simple mixing principles is what will truly set you free. You’ll be able to move beyond the pre-made colors in a paint set and start creating the exact hues you see in your mind's eye.
Your First Simple Watercolor Painting Projects
Okay, let's put everything we've talked about into practice. Moving from theory and swatches to a full painting can feel like a huge jump, but it doesn't have to be intimidating.
I've put together three beginner-friendly projects designed to build your confidence and help you create something you'll be genuinely proud of. The goal here isn't a masterpiece—it's about getting comfortable, having fun, and feeling the joy of making art. You'll be surprised what you can create with just a few basic skills.
Project One: Paint a Simple Galaxy Sky
A galaxy is one of the most forgiving and fun subjects for a beginner. It's all about letting go and letting the wet-on-wet technique work its magic. Since galaxies are beautifully chaotic, there's absolutely no pressure to be precise.
- Wet your paper: First thing's first—grab a clean brush and apply an even coat of water across your paper. You want it gleaming, not pooling.
- Drop in the colors: Now for the fun part. Load your brush with deep blues, purples, and maybe a touch of magenta or black. Just touch the tip of the brush to the wet paper and watch the colors bloom and mingle on their own.
- Splatter some stars: Let the painting dry completely. Then, load up a small brush with some opaque white paint (gouache works great for this) and flick the bristles with your finger to splatter a field of stars across your cosmic creation.
Project Two: Create a Minimalist Botanical Design
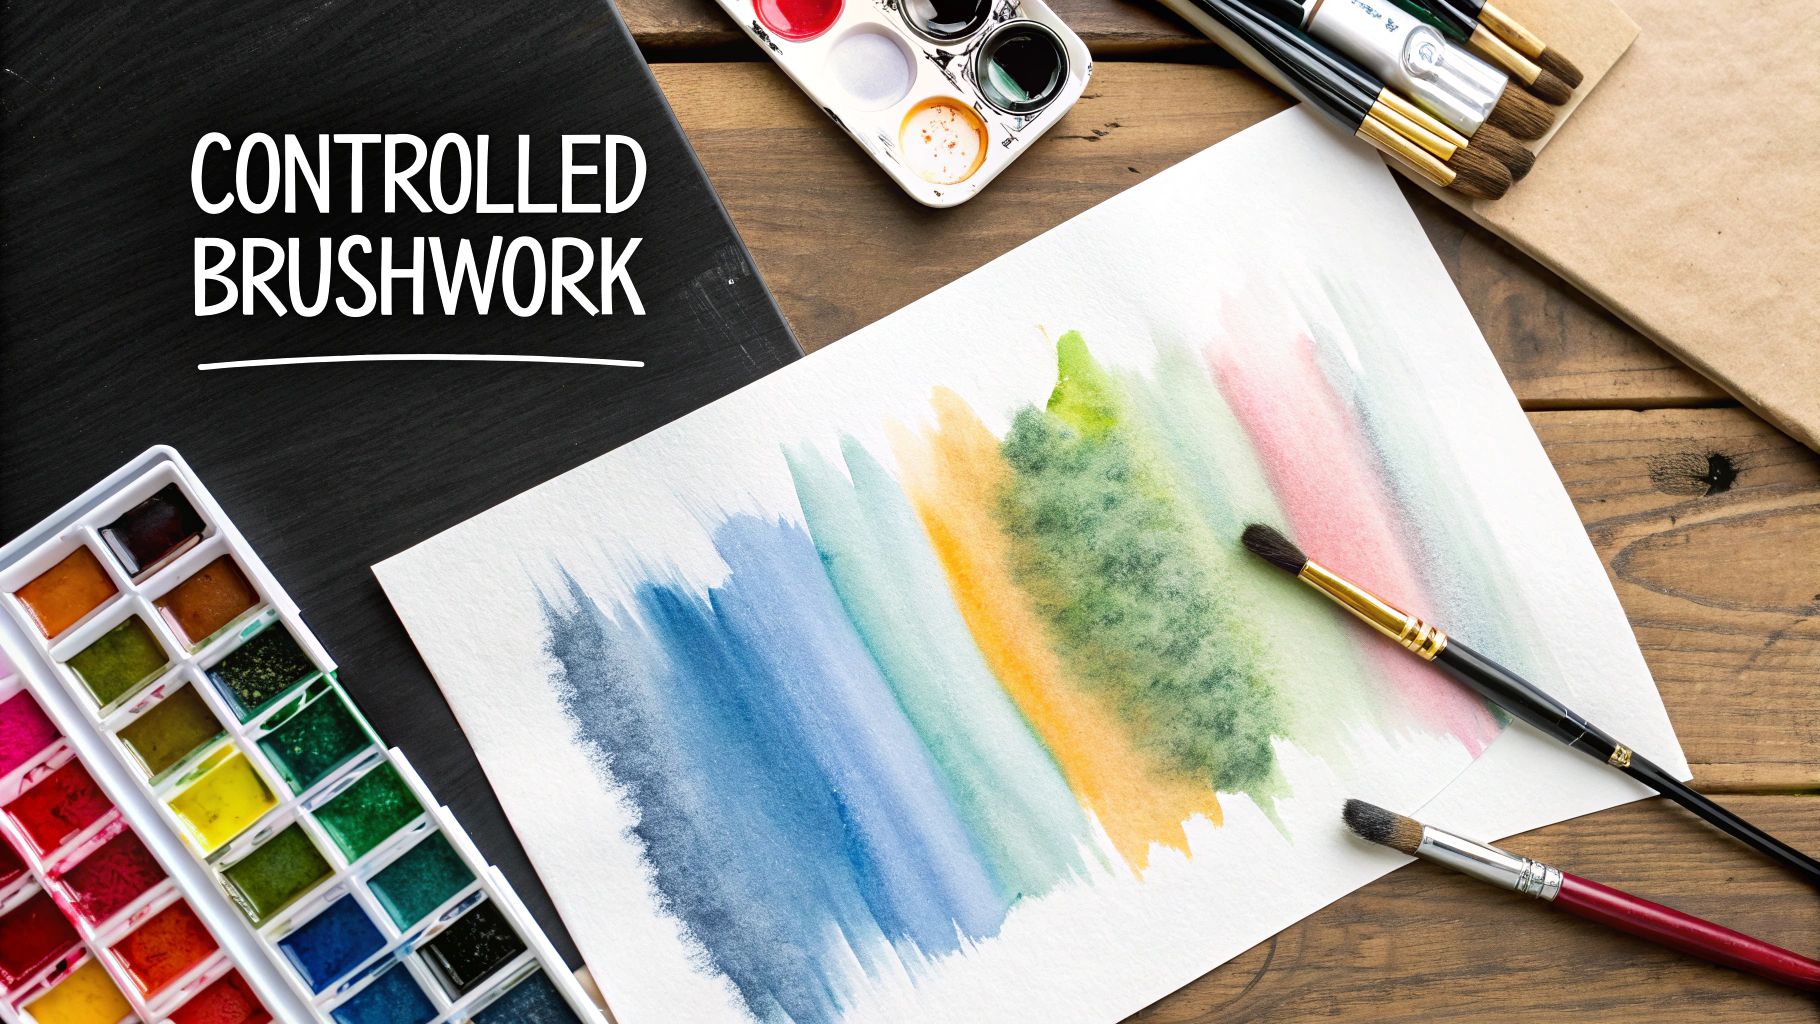
Next up, we’ll switch gears to the wet-on-dry technique to practice control and intentional brushstrokes. A simple botanical leaf or a delicate branch is perfect for this. The focus here is on creating clean, defined shapes with your round brush.
Try to really feel the brush in your hand. Vary the pressure you apply—press down firmly to create a thick stem, then lift up gently to paint a delicate, tapered leaf. This is a fantastic exercise for building muscle memory and understanding how your brush responds. Use those color-mixing skills to whip up a natural, earthy green. Remember, the elegance is in the simplicity.
This hands-on process is a huge reason why watercolor is booming as a therapeutic hobby. It’s a creative outlet that really connects you to the moment. The global watercolor paints market hit approximately USD 2.93 billion in 2023 and is still climbing, mostly because it’s so accessible and brings people so much joy. You can discover more insights about the watercolor market and see for yourself just how popular it’s become.
Project Three: Master a Misty Mountain Landscape
For our final project, we'll combine your skills to paint a serene, misty mountain range. This one is a beautiful introduction to the power of layering and using graded washes to create a real sense of depth and atmosphere.
Start with the mountain that’s farthest away. Mix a very light, watered-down gray-blue and paint its silhouette. Now, here’s the most important part: you have to let that layer dry completely. Be patient!
Once it’s dry, mix a slightly darker, less diluted version of your color. Paint the next mountain range so it overlaps the first one a bit.
You’ll just keep repeating this process. Let each layer dry, then add another range in front of it with a slightly darker and more defined color. This simple layering trick creates a believable illusion of distance, just like looking at mountains on a foggy morning. It’s a powerful technique that will become a go-to in your watercolor painting for beginners toolkit.
A Few Common Sticking Points for New Watercolorists
When you're just starting out with watercolors, a few questions always seem to pop up. Don't worry, we've all been there! Let's walk through some of the most common hurdles so you can get back to painting with confidence.
Sooner or later, every new painter deals with unruly paper. If you've ever watched a promising wash dry into a wavy, buckled mess, you know exactly what I'm talking about.
“Why Is My Paper Turning into a Wavy Mess?”
This happens for a simple reason: the paper gets soaked and the fibers swell up. With nowhere else to go, they push upward, creating those frustrating ripples. It’s a classic beginner problem.
The easiest fix is to start with heavier paper. Anything 140 lb (300 gsm) or heavier is made to handle a good amount of water and will resist buckling far better. Another pro tip is to tape your paper down. Use artist's tape to secure all four edges to a board or your work surface before you even dip your brush. This holds the paper taut as it dries, forcing it to stay flat.
Buckled paper feels like a failure, but it's really just a rite of passage. Learning to control your water and picking the right paper are core skills every single watercolor artist has to figure out.
Alright, so your paper is flat. But what happens when you put down a brushstroke you immediately regret?
“Is It Possible to Fix a Mistake?”
It feels impossible at first, I know! But you can absolutely correct mistakes in watercolor. The magic word is "lifting."
If the paint is still wet, you can pull the color right off the page. Just take a clean, damp brush (I call it a "thirsty" brush because it's ready to soak something up), and gently blot the area. The brush will lift the pigment away. A wadded-up paper towel works in a pinch, too. If the paint is already dry, you can re-wet the spot and try lifting again, though some colors are more stubborn than others.
Finally, standing in the art store aisle can be overwhelming. The big question is always about the paint itself.
“Student vs. Professional Paints: What’s the Big Deal?”
Honestly, it all boils down to one thing: pigment.
- Professional-grade paints are packed with a higher concentration of pure, finely-milled pigment. This gives you incredibly vibrant colors and makes them more lightfast, meaning they won't fade over time.
- Student-grade paints have less pigment and include fillers, which is what makes them so much more affordable. They’re a fantastic choice for practicing your techniques and getting a feel for color mixing without worrying about the cost.
My advice? Start with a solid set of student-grade paints. They are absolutely perfect for learning the ropes. As you get more serious and start creating work you want to last, you can begin adding professional-grade tubes to your collection.
At William Tucker Art, we believe art is all about discovery and finding your voice. If you're looking for a little inspiration, explore our collections of vibrant wildlife and coastal art. Visit our online gallery to see what's possible with a brush and a bit of color.