
Before you even think about painting, let's talk about your toolkit. Getting the right supplies is half the battle, and honestly, it makes the whole process so much more enjoyable. Think of it like cooking – the better your ingredients, the better the final dish.
Choosing The Right Tools For Your Portrait
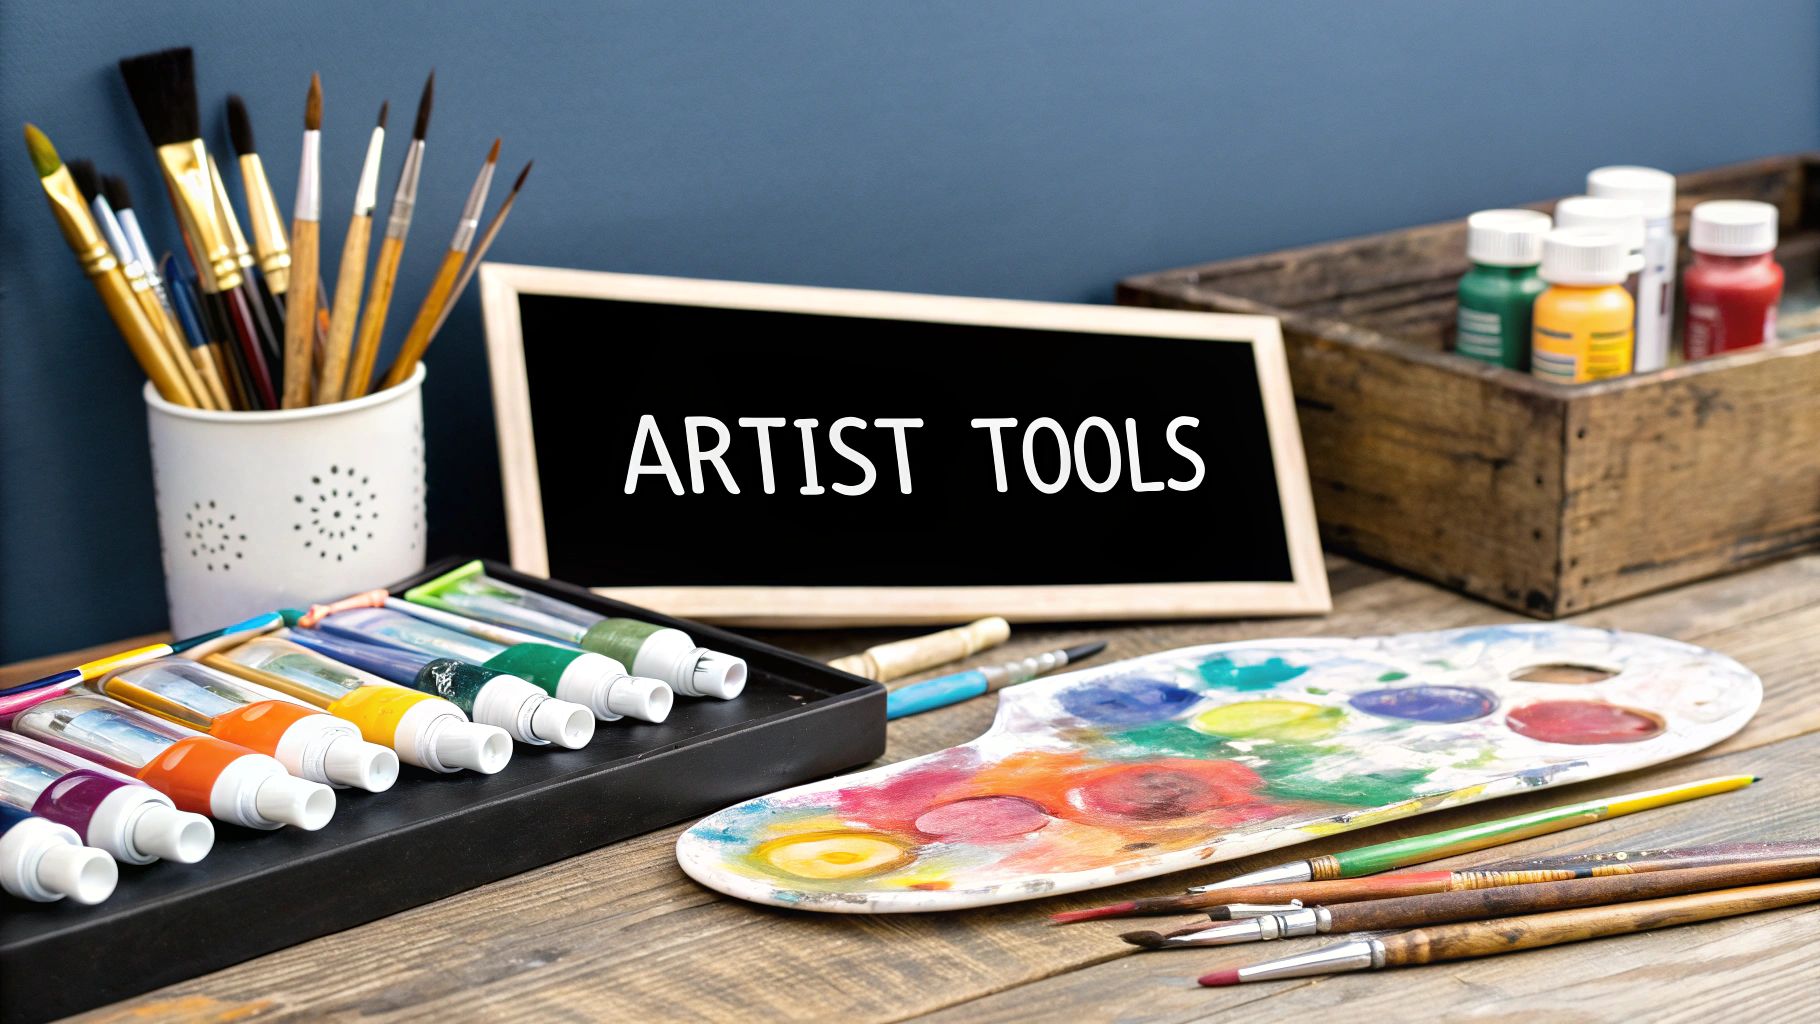
Walking into an art supply store can feel overwhelming, but you don't need everything on the shelf. The key is to make smart choices now that will prevent a lot of headaches later.
The first big decision is your paint. You'll see "student-grade" and "artist-grade" acrylics. While student-grade paints are easy on the wallet and fine for practicing, they have less pigment. This can make your colors look a bit weak, and worse, they sometimes change color as they dry. That's a real pain when you've just mixed the perfect shade for a golden retriever's fur.
The Value Of Quality Paints And Brushes
This is where artist-grade paints really shine. They're packed with pigment, which means the colors are rich, vibrant, and stay true when they dry. This is a game-changer for mixing those tricky, subtle shades you find in a dog’s coat—the warm browns, soft grays, and creamy whites.
It's interesting to note that while hobbyist-grade acrylics make up over 60% of the market, artists who specialize in detailed work, like animal portraits, almost always reach for professional-quality paints. For a great rundown of everything you might need, this guide on essential acrylic painting supplies is a fantastic starting point.
When it comes to brushes, you don't need a giant collection. A few workhorses will do the trick:
- A medium flat brush: Perfect for laying down big color blocks for the background or the main shape of the dog.
- A small round brush: This is your detail hero. You'll use it for the eyes, nose, and those tiny individual hairs that bring the portrait to life.
- A fan brush: A fantastic tool for creating the illusion of soft, layered fur with just a few light strokes.
Investing in a few quality brushes that hold their shape will give you much more control than a bundle of cheap ones that fray after one use. It’s the difference between trying to draw a straight line with a frayed rope versus a sharp pencil.
To help you figure out what you absolutely need versus what's nice to have, here’s a quick breakdown.
Essential vs Optional Art Supplies
| Essential Supplies | What It's For | Optional (But Helpful) Supplies | Why You Might Want It |
|---|---|---|---|
| Artist-Grade Acrylics | Rich, stable colors for realistic fur tones. | Flow Improver | Thins paint without losing color, great for fine lines. |
| Medium Flat Brush | Blocking in large background & body areas. | Fan Brush | Creates soft, layered fur textures with a light touch. |
| Small Round Brush | Fine details like eyes, nose, and whiskers. | Filbert Brush | A versatile brush for blending and soft edges. |
| Stretched Canvas | The surface for your masterpiece. | Gesso | Adds extra layers of primer for a smoother surface. |
| Palette | A surface for mixing your paints. | Stay-Wet Palette | Keeps acrylics from drying out too quickly. A lifesaver! |
This list should give you a solid foundation without breaking the bank. You can always add the "optional" items later as you get more comfortable.
Beyond The Basics: Canvas And Palettes
Your painting surface, or canvas, is important too. A pre-stretched canvas is the easiest way to go. For detailed portraits, I'd suggest one with a fine texture. A rough, toothy canvas is great for expressive, abstract work, but it can make painting those tiny, realistic details a real challenge.
Finally, I can't recommend a stay-wet palette enough. Acrylics are notorious for drying in the blink of an eye. This simple tool keeps your perfectly mixed colors workable for hours, sometimes even days. It's a small investment that saves you the massive frustration of your paint drying out mid-stroke.
Getting Your Canvas Ready for the Portrait
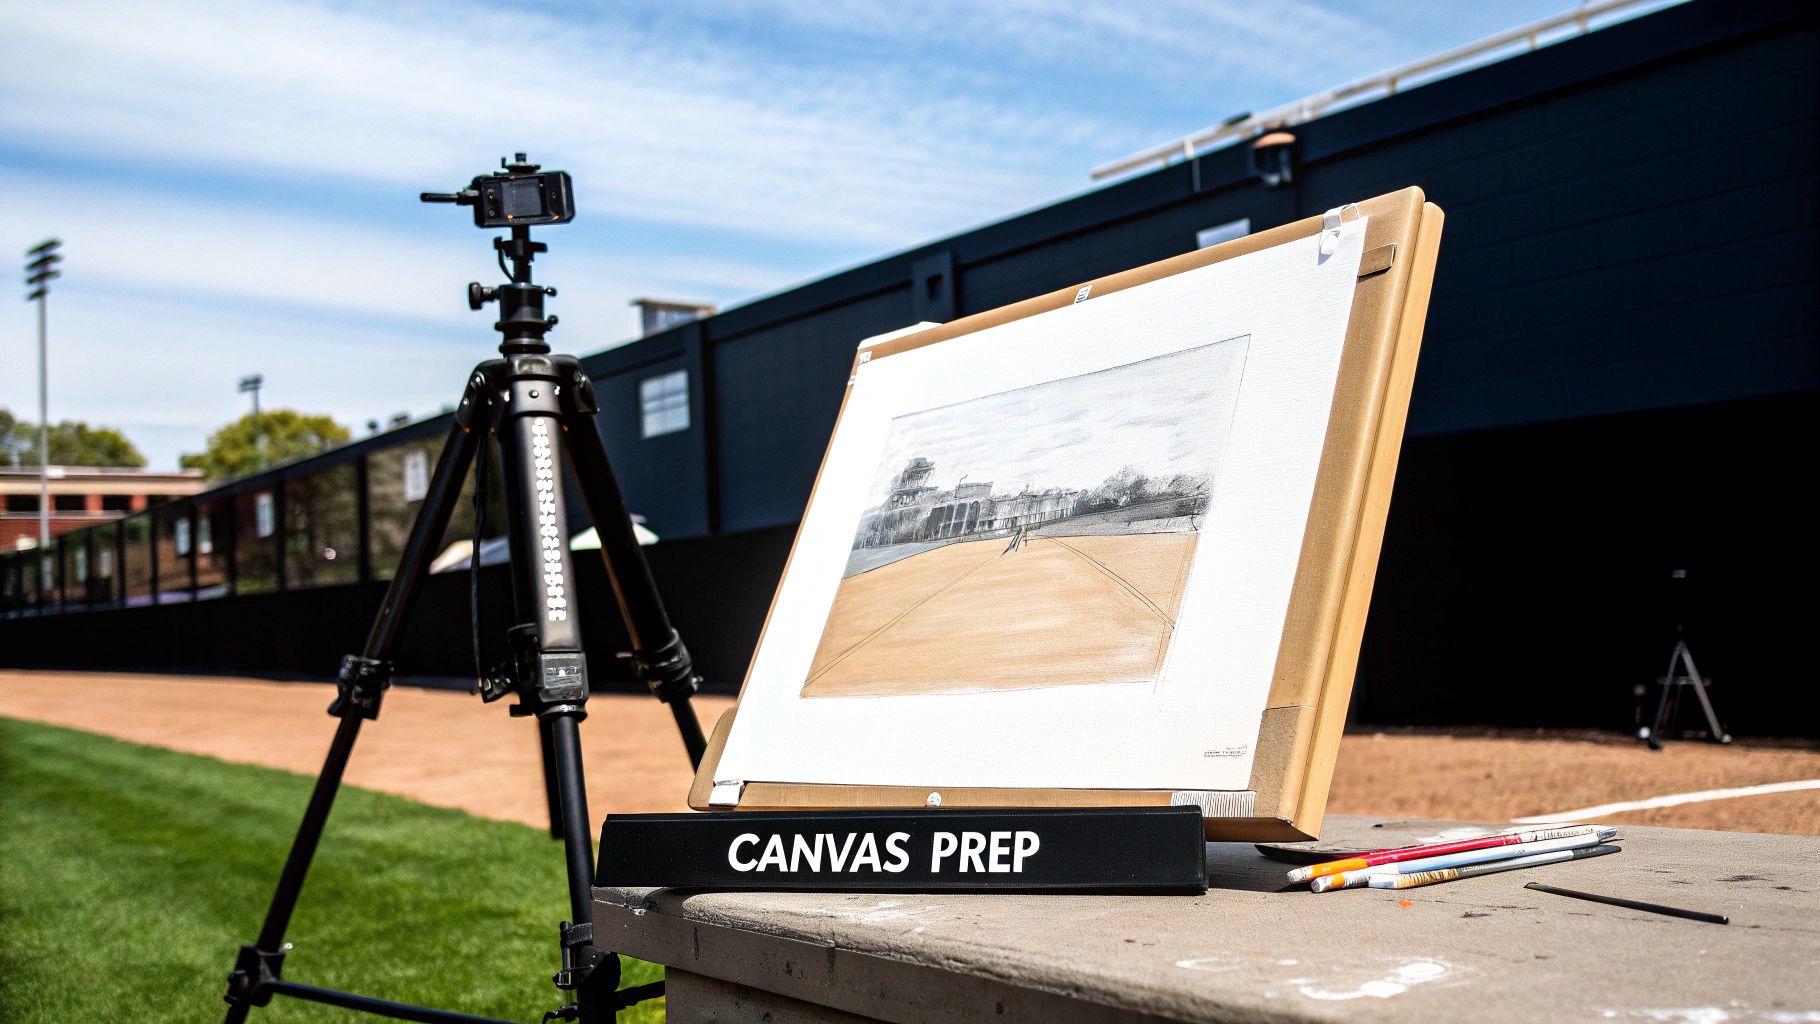
A fantastic dog portrait doesn't just happen when you start painting the fur. The real magic begins with the prep work. Think of it like building a house—you need a solid foundation before you can even think about the details. Getting this stage right will save you a world of frustration later on and make the whole painting process feel more natural.
One of the best things you can do right at the start is to create a toned ground. All this means is applying a thin, neutral layer of color to your canvas before you sketch. A bright white canvas can really mess with your perception; it makes your dark colors look way darker and your light colors seem weaker than they actually are.
By putting down a light wash of a neutral color—like a gray, burnt sienna, or yellow ochre—you're creating a middle ground. This simple step helps you judge your values and colors accurately right from the very first brushstroke. It’s a game-changer.
Getting Your Sketch onto the Canvas
After your toned ground has dried completely, it's time to transfer your reference photo. You could always freehand it, but for a realistic portrait, getting the proportions spot-on is everything. For that, the grid method is a classic, tried-and-true technique that I always recommend.
It's pretty straightforward:
- First, draw a grid over your reference photo. You can do this digitally or just draw right on a printout.
- Next, draw a grid on your canvas with the same number of squares, scaled up to size. Keep your lines light, using a pencil or a bit of charcoal.
- Now, just focus on one square at a time, copying the lines and shapes from the photo to the matching square on your canvas.
This approach breaks down what can be an intimidating drawing into small, easy-to-manage sections. It’s the best way I know to make sure the eyes are in the right place, the ears have that perfect curve, and the overall likeness is there. You’re essentially creating a reliable map to guide your painting.
Thinking Like a Painter with Your Sketch
Your sketch shouldn't just be an outline. This is where you start thinking ahead. Use this step to map out the important details that will guide your brush later. For example, don't just draw the outer edge of the fur. Instead, use light, flowing lines to hint at the direction the fur grows around the dog’s face and body.
Make sure to mark the tiny catchlights in the eyes or the little wet highlight on the nose. It's so easy to lose these crucial details once the paint starts going on, so locking them in now is key. This prep work is vital no matter what you're painting on. If you're branching out from canvas, for instance, knowing how to get different surfaces ready is crucial. We have a whole guide on preparing cradled wood panels for acrylic painting if you're feeling adventurous.
Building Form with Foundational Layers
Okay, your canvas is ready and your sketch is down. Now for the fun part—bringing that portrait to life. This is where we start to see your dog emerge from the flat surface, and it all begins by thinking in big, simple shapes of color.
Seriously, forget about all the tiny details and individual hairs for now. Our only job at this stage is to "block in" the foundational layers, establishing the main areas of light and shadow. You're essentially creating a color map that will guide all the detailed work later on.
When painting a dog in acrylics, one of my go-to strategies is to work from dark to light. I always start by squinting at my reference photo to find the darkest shadows. Maybe it's under the ears, along the fold of the neck, or inside the mouth. I’ll mix up my darkest color and apply a thin layer right in those spots.
Mixing Your Foundational Fur Colors
Creating believable fur tones is way simpler than it looks. It’s not about finding one magic tube of "dog fur" paint. Instead, it's about mixing a family of colors that harmoniously represent the shadows, mid-tones, and highlights. You'll want to mix a dark, a mid-tone, and a light version of your dog’s main color.
Let's take a Golden Retriever, for example. Your base palette might look something like this:
- Darkest Shadow: Burnt Umber mixed with a touch of Yellow Ochre.
- Mid-Tone: Yellow Ochre with a bit of Burnt Sienna and a hint of white.
- Highlight: Titanium White with just a tiny amount of Yellow Ochre mixed in.
And for a Black Lab? You’ll want to avoid using straight black from the tube, which can look incredibly flat and lifeless on canvas. I prefer to mix my own rich blacks.
- Darkest Shadow: A combination of Ivory Black and Ultramarine Blue (or Burnt Umber) creates a much deeper, more interesting dark.
- Mid-Tone: Take your darkest mix and add a touch of gray (black + white) to create those cool, muted highlights you see on shiny black fur.
- Highlight: A very light gray, saving pure white only for the final, brightest glints of light on the nose or in the eyes.
This chart gives you a visual on some basic pigment ratios for these two very different, but very common, fur types.
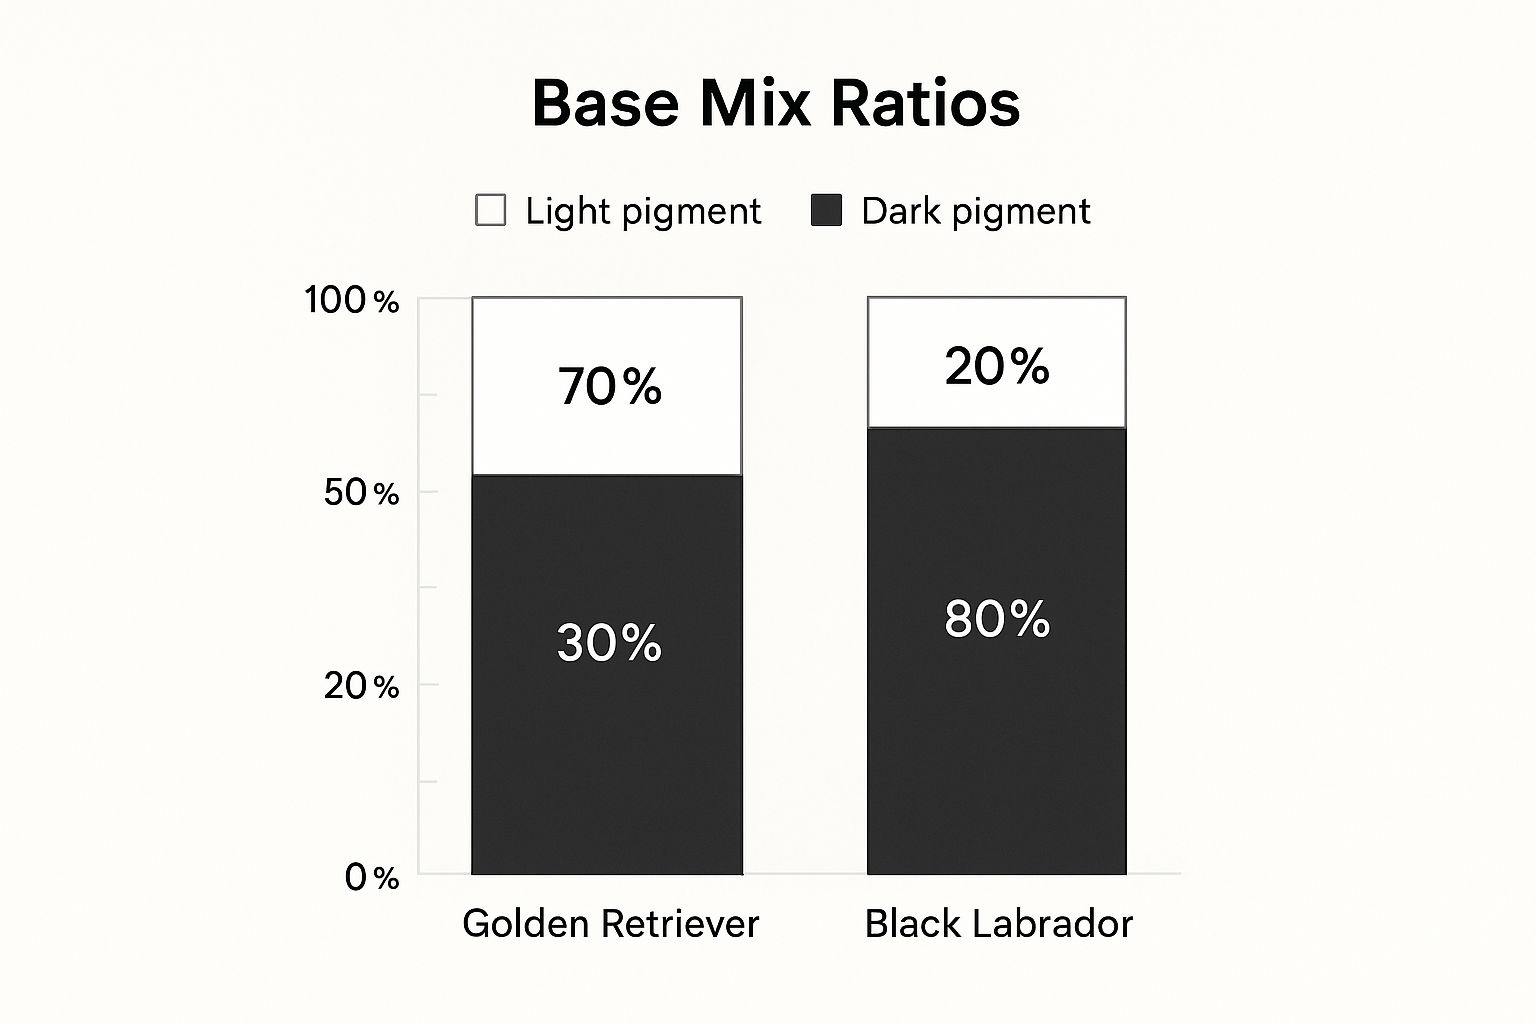
As you can see, even a dog with black fur needs a surprising range of lighter pigments to give it that sense of real-world dimension.
My Pro Tip: Keep these initial layers thin. I like to add a little water to my paint to get an almost wash-like consistency. This helps the layers dry quickly and lets you build up richness and depth gradually. If you go too thick and heavy at this stage, you risk filling in the canvas texture, which makes adding those fine, delicate fur details a real pain later on.
The quick-drying nature and versatility of acrylics are exactly why so many artists love them. It's a huge market, valued at around US$122.4 million in 2024, and its popularity just keeps growing because of how forgiving it is for this layering technique. You can actually see what makes acrylics so popular with artists and check out the trends.
A solid grasp of the underlying structure of your subject is also a massive advantage here. If you're curious, we have an excellent guide on animal anatomy for artists. By focusing on these large color shapes first, you’re building a solid foundation for a successful portrait.
Painting Fur That Looks Real Enough to Pet
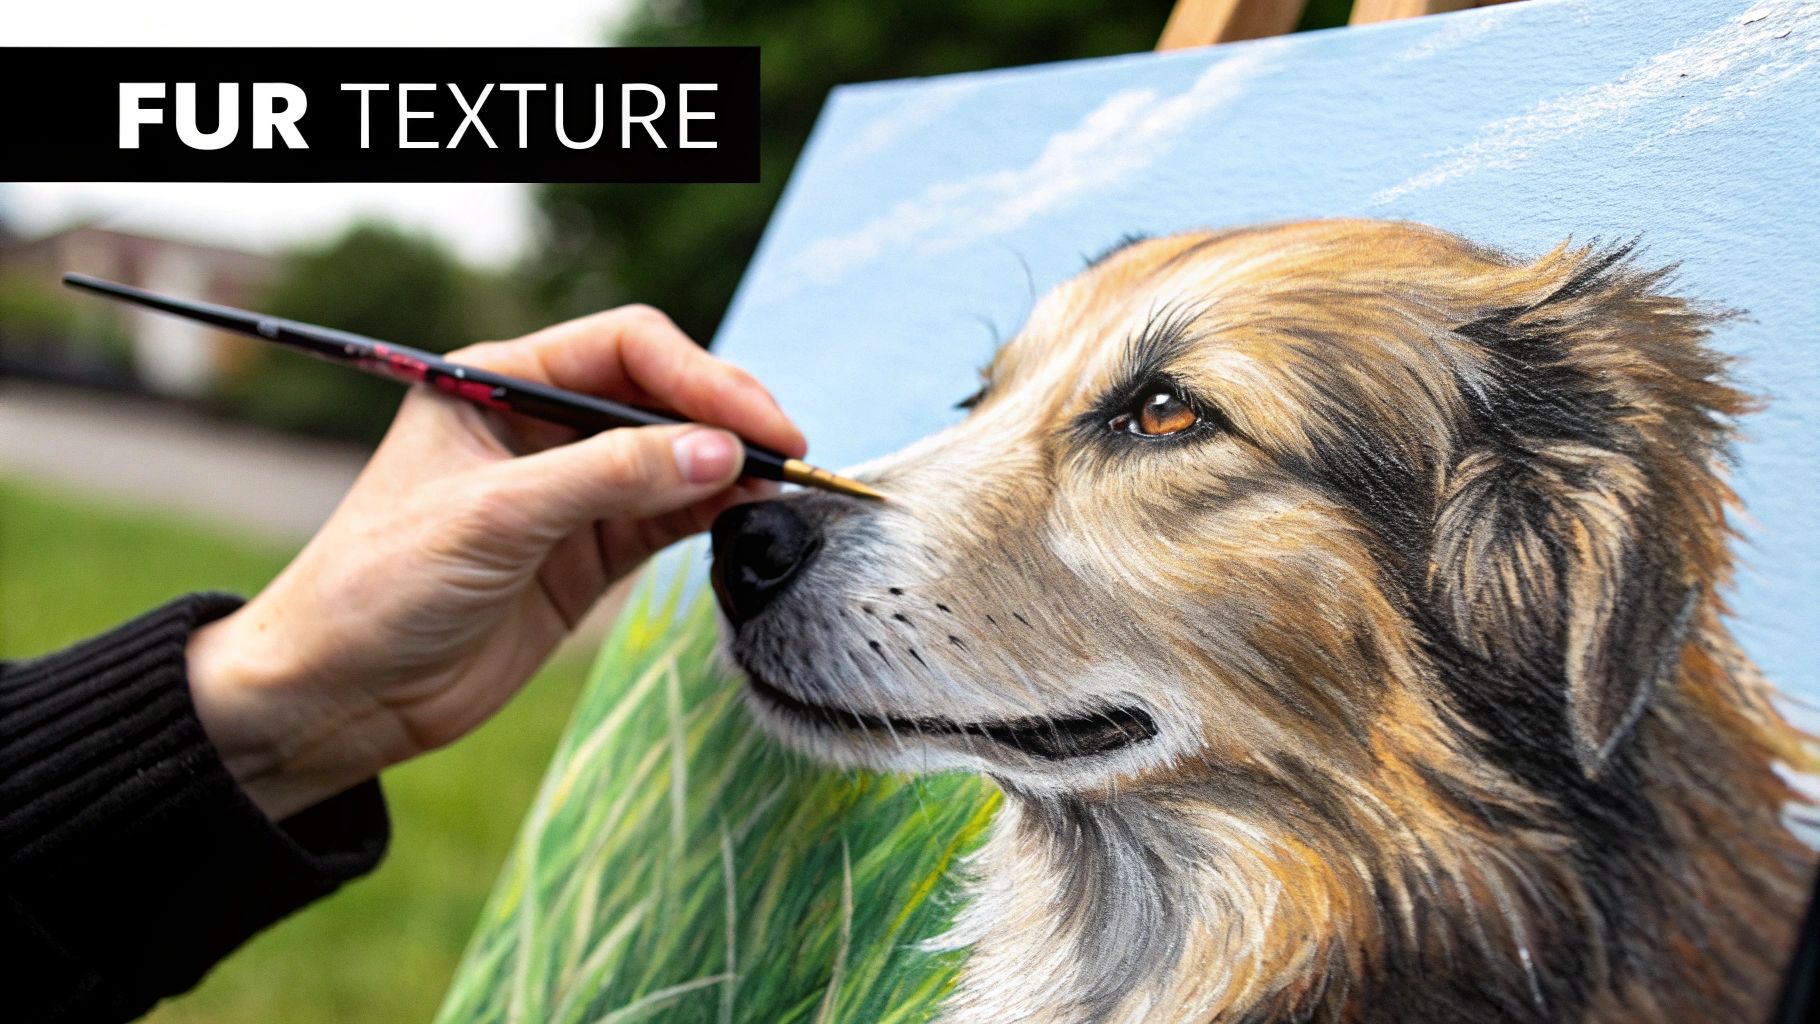
Alright, with our base layers down, we can get to the fun part—the part that truly breathes life into your dog portrait: the fur. I know this stage can feel a bit intimidating. It's easy to look at a photo and think you have to paint every single hair, but I promise, it's all about clever layering and confident brushwork.
The absolute golden rule for realistic fur is understanding its direction of growth. Before you lay down a single detail stroke, just pause and really look at your reference photo. See how the fur radiates out from the nose, sweeps down the neck, and swirls around the base of the ears? Every brushstroke from this point on needs to follow that natural flow.
Brush Techniques for Different Fur Types
The right brush can make or break your fur texture. A classic beginner mistake I see all the time is trying to paint the entire dog with the same brush. Let's not do that. Instead, we'll match the tool to the job.
For long, flowing coats—think Golden Retrievers or Collies—a fine liner brush is going to be your best friend. Load it with paint that you've thinned just a little, and use quick, decisive flicks of the wrist. The key here is variety; don't make every stroke the same length or perfectly parallel. Nature is perfectly imperfect.
Dealing with a short, sleek coat, like a Boxer or a Beagle? Switch to a small flat or filbert brush. Here, you'll use short, tapping or dragging motions that hug the contours of the dog's body. This approach suggests that dense, velvety texture without getting bogged down in painting individual strands.
Creating Softness with Dry Brushing
So, what about that soft, fuzzy look you see on a Poodle's topknot or around a German Shepherd's ruff? For this, we have a fantastic technique called dry brushing.
It’s just as simple as it sounds:
- First, load a stiff-bristled brush with a tiny bit of paint. An old, slightly splayed brush is actually perfect for this.
- Next, wipe almost all the paint off on a paper towel. You want the brush to look like it has barely any paint left on it.
- Finally, just skim the brush lightly over the canvas.
This method deposits just a whisper of pigment, creating a soft, hazy effect that works wonders for fluffy undercoats or for blending color transitions smoothly. It's my go-to trick for adding that "I want to pet this" quality.
Capturing realistic fur is a process of suggestion, not replication. Your goal isn't to paint one million individual hairs, but to create the illusion of one million hairs through clever layering and varied brushstrokes.
Think of it as building your portrait from the inside out. Your first layers were the skin and muscle, and now these detailed strokes are the final coat of fur sitting right on top.
Fur Painting Techniques At A Glance
To make it even clearer, I've put together a little cheat sheet. This table breaks down which techniques I use for different fur textures. It's a great reference to keep handy at your easel.
| Technique | Best Brush Type | Ideal For This Fur Type | Pro Tip |
|---|---|---|---|
| Fine Line Work | Liner or Small Round | Long, silky fur (Golden Retriever, Setter) | Thin your paint slightly with water for smooth, unbroken lines. |
| Short Tapping | Small Flat or Filbert | Short, dense coats (Labrador, Beagle) | Layer light colors over darks to create a sleek shine. |
| Dry Brushing | Old Flat or Fan Brush | Fluffy, soft fur (Poodle, Chow Chow) | Use a very light touch to build up the effect gradually. |
| Scumbling | Stiff Round or Flat | Wiry or curly fur (Terrier, Doodle) | Apply thick paint in a circular, scrubbing motion for texture. |
By layering these different methods, you'll start to see incredible depth and realism emerge. Always remember the order: start with your mid-tones, use shadows to carve out the form, and then finish with those bright, crisp highlights that make the fur pop right off the canvas. This methodical approach is what will transform those flat blocks of color into a dynamic, lifelike coat.
It’s All About the Final Details
Alright, you’ve put in the hard work building up the fur and getting the structure just right. Now for the best part—the final details. This is where the magic really happens, where your painting stops being just a likeness and truly becomes a portrait filled with life and personality. We're talking about the eyes, the nose, and all those little finishing touches that make someone say, "That's my dog!"
The eyes are everything. They're where the soul of your portrait is, and it’s so easy to get them wrong by oversimplifying. Just like the fur, the eyes are built up in careful, delicate layers.
I always start with a solid, dark circle for the pupil. I like to mix a tiny bit of blue into my black paint to give it some depth and keep it from looking like a flat black hole. Once that’s dry, I’ll paint the iris around it. Get your reference photo right up close and really look at the colors in there. You'll be amazed to find a whole universe of golds, ambers, and deep browns, often with subtle little textures. Grab your tiniest brush and start dotting in those little flecks of color.
Making the Eyes Come to Life
The single most important touch for the eyes is the catchlight. This is that tiny reflection of a light source—a window, a lamp, the sky. It’s just a little dot of pure white paint, but its placement is what gives the eye that wet, glossy look and a genuine spark of life.
Here’s how to nail it:
- Keep it Consistent: Make sure you add the catchlight to the same spot in both eyes (like the upper right). This small detail tells the viewer that both eyes are reflecting the very same light source.
- Get the Shape Right: It's almost never a perfect circle. Is it squarish from a window pane? Maybe a bit oblong from a lamp? Copying the shape from your photo adds a surprising punch of realism.
After the eyes, I move on to the nose. A dog's nose is rarely a simple, dry, black triangle. It has a unique texture, a bit of moisture, and some really interesting highlights. I'll use a slightly thicker mix of my dark paint here, and while it’s still a bit tacky, I sometimes gently dab it with a stiff brush to create that subtle, pitted texture. The finishing blow? A sharp, bright highlight along the top ridge or nostril to give it that classic wet-nose shine.
I can't stress this enough: step back from your painting often! It’s so easy to get lost in the tiny details when you're nose-to-canvas. Viewing it from a few feet away helps you see the bigger picture and make sure everything is coming together in a balanced way.
Whiskers and Finishing Touches
Time for the whiskers. I know this step can be a little nerve-wracking, but the secret is to be confident. Grab a liner brush and thin down some white or light gray paint until it flows nicely. Before you touch the canvas, practice on a scrap piece of paper. Get the feel for a quick, sweeping flick of your wrist. And remember, less is more. A few delicate, well-placed whiskers will always look better than a bunch of thick, clunky lines.
Finally, take one last look at your painting as a whole. Does that shadow over there need to be a little deeper to really make a highlight pop? Maybe that edge is a bit too sharp and needs softening? These tiny adjustments are what pull the entire piece together.
This level of attention to detail is what turns a good painting into a cherished keepsake. The market for custom pet portraits is booming, which just shows how much people want to capture the unique spirit of their furry family members. In fact, with about 45% of households worldwide owning a dog, custom portraits are a huge seller on art platforms. Discover more insights about the acrylics market and see for yourself how the demand for this kind of personal art is growing. It’s these final, thoughtful details that will make your acrylic dog painting truly one-of-a-kind.
Your Questions Answered
Even with the best plan, you're bound to run into a few head-scratchers during the painting process. It happens to all of us! Let's tackle some of the most common questions that come up when painting a dog in acrylics.
One of the biggest hurdles is often the paint itself. Acrylics are notorious for drying in the blink of an eye, which can really throw a wrench in your plans when you're trying to blend colors.
How Do I Keep My Acrylic Paints From Drying Out So Fast?
Ah, the classic acrylics dilemma! Honestly, the single best tool for this is a stay-wet palette. It's a game-changer and can keep your perfectly mixed colors workable for hours, sometimes even days.
If you don't have one, no sweat. A simple spray bottle filled with water works wonders. Just give your palette a light mist every ten minutes or so to keep things from crusting over. Another great trick is to mix an acrylic retarder medium right into your paints. A tiny drop is all you need to slow down that drying time, giving you a much more forgiving window to blend and work.
How Can I Paint Black or White Fur Without It Looking Flat?
This is where the magic happens. The secret is to almost never use pure black or pure white straight from the tube. On their own, they have zero depth and can make your beautiful portrait feel a bit like a cartoon.
For black fur, I always mix in other colors to create a richer, more believable dark. A personal favorite combination is Ivory Black with a touch of Burnt Umber for warmth or Ultramarine Blue for a cooler tone. This creates a dark that has subtle undertones, just like real fur catching the light.
When it comes to white fur, the same idea applies. I start with an off-white base by mixing Titanium White with a tiny speck of Yellow Ochre or a light gray. From there, I build up the layers, saving that pure, unmixed Titanium White for the absolute final, brightest highlights. This contrast is what makes those highlights really sing and gives the fur a brilliant, three-dimensional feel.
My proportions look off—how can I fix my sketch? The grid method is your best friend for accuracy. If you've already started painting, don't worry! Acrylics are incredibly forgiving. You can wipe away a fresh mistake with a damp cloth or simply let it dry and paint right over it.
This flexibility is one of the best things about painting a dog in acrylics. Once you've gotten the hang of this, you might be itching to try something new. For anyone looking to broaden their skills, you can find more general drawing and painting ideas to spark creativity to keep the inspiration flowing.
Tackling these common issues head-on will not only build your confidence but help you create a portrait you're truly proud of.
At William Tucker Art, we believe in the power of art to capture the spirit of the animals we love. If you're inspired to own a unique piece that celebrates wildlife or your own beloved pet, explore the collections at https://williamtuckerart.com.