
Welcome to the vibrant world of acrylic painting! Whether you're picking up a brush for the first time or looking to solidify your foundational skills, you've come to the right place. Acrylics are wonderfully versatile, but their quick-drying nature and unique properties can be tricky for newcomers. This guide is designed to cut through the confusion, offering a clear roadmap with six fundamental acrylic painting tips for beginners that will transform your approach from day one.
We'll move beyond generic advice and dive straight into actionable techniques that professional artists rely on. This listicle is your practical toolkit for success, helping you build a strong foundation without the typical trial and error. You will learn how to manage your colors effectively, keep your paints workable, prepare your surfaces properly, and master essential brushwork.
From mastering your color palette to essential brush care, these insights will help you build confidence, avoid common pitfalls, and create art you're proud of. Forget the overwhelming feeling of starting something new; this guide breaks down exactly what you need to know. Let's get ready to unleash your inner artist and make your creative vision a reality.
1. Start with a Limited Color Palette
Walking into an art supply store can feel overwhelming. The wall of paint tubes, with dozens of shades of every color imaginable, is enough to make any beginner's head spin. This is precisely why one of the most effective acrylic painting tips for beginners is to deliberately limit your options. Starting with a limited color palette of just 3-5 essential colors plus white is a game-changer.
This approach forces you to get back to basics and truly understand how colors interact. Instead of searching for the perfect pre-mixed green, you learn to create it yourself by combining yellow and blue. This foundational skill is crucial for developing your artistic eye and gaining control over your work. It prevents decision fatigue and saves you a significant amount of money on initial supplies.
Popular Limited Palettes to Try
Many famous artists, from old masters to modern icons like Bob Ross, built their careers on limited palettes. Here are a few proven combinations to get you started:
- Basic Primary Palette: This is the quintessential starting point. All you need is Cadmium Red, Ultramarine Blue, Cadmium Yellow, and a generous tube of Titanium White. With these, you can mix a surprisingly vast range of secondary and tertiary colors.
- The Zorn Palette: Named after Swedish artist Anders Zorn, this classic four-color palette consists of Yellow Ochre, Cadmium Red, Ivory Black, and Titanium White. It’s renowned for creating beautiful, nuanced skin tones and rich, harmonious compositions.
- Earth Tone Palette: For a more muted, natural feel, start with Burnt Umber, Yellow Ochre, Ivory Black, and Titanium White. This is perfect for painting landscapes, still lifes, and rustic scenes.
Key Insight: A limited palette isn't a restriction; it's a tool for focused learning. It simplifies the process, allowing you to master color theory through hands-on practice rather than guesswork.
This summary box highlights the core advantages of adopting a limited palette for your first acrylic painting projects.
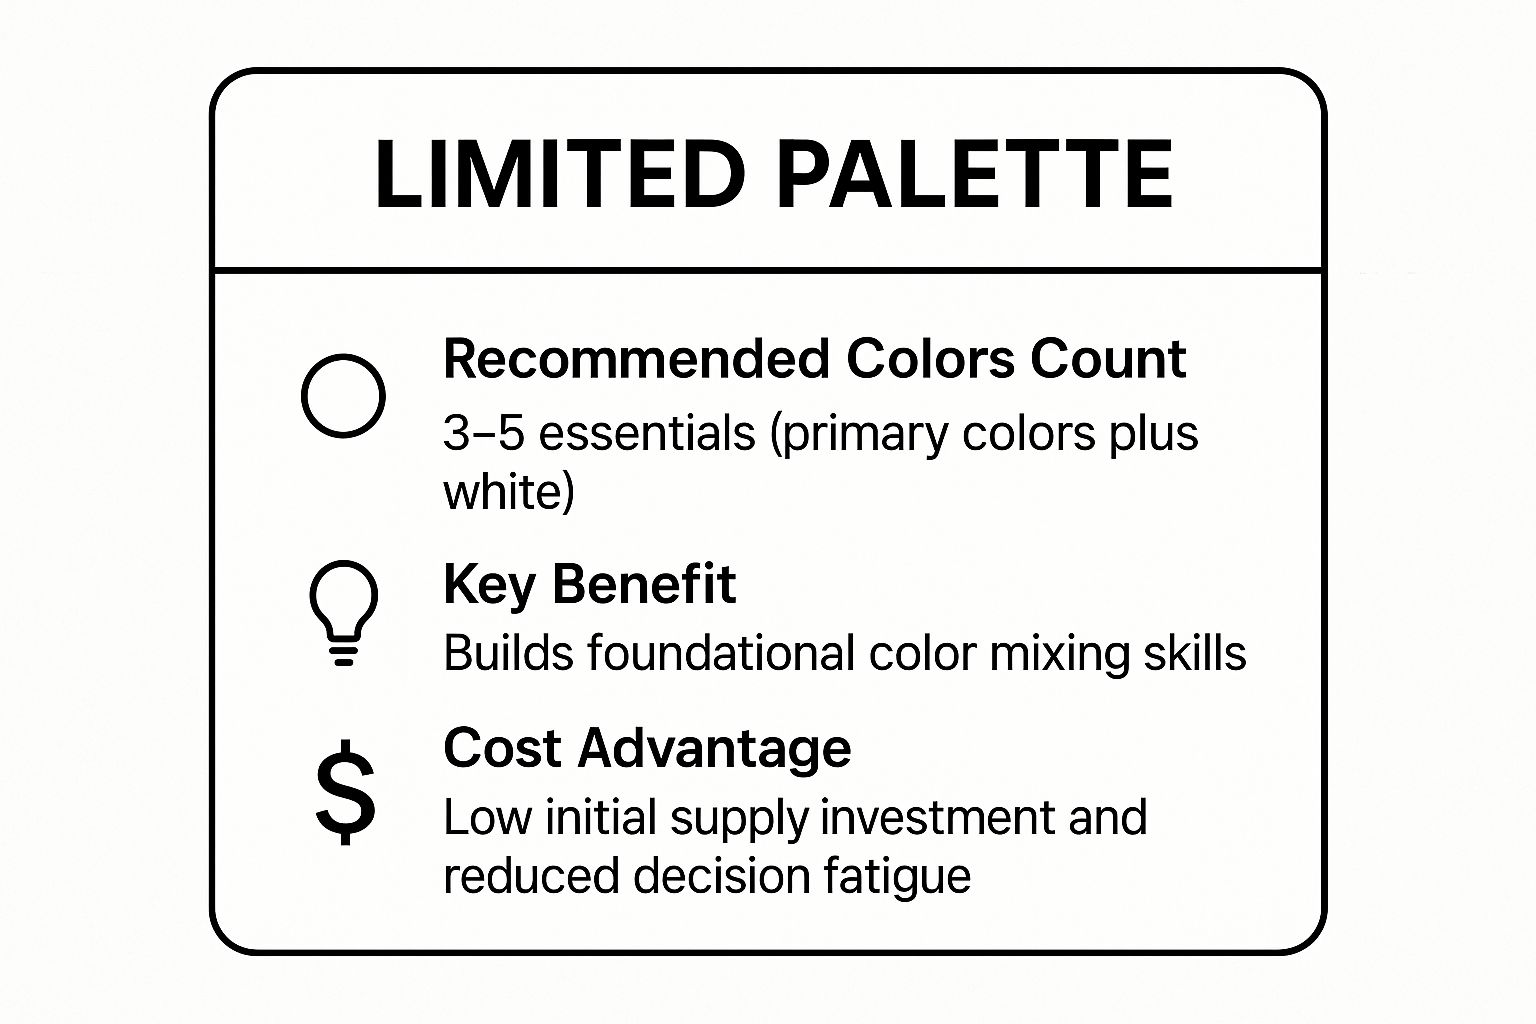
As the infographic shows, this technique is fundamentally about building a strong foundation in color mixing while being practical and cost-effective. By embracing these constraints, you’ll find your skills improve much faster than if you were juggling dozens of colors from the start. This simple but powerful tip is a cornerstone of a successful painting practice.
2. Keep Your Paints Wet with Proper Techniques
One of the first things you'll notice about acrylics is how quickly they dry. This rapid drying time is fantastic for layering colors without creating mud, but it can be a major hurdle when you need more time to blend. This is why learning how to keep your paints workable is one of the most essential acrylic painting tips for beginners. Mastering this skill gives you control over your medium, preventing frustration and wasted paint.
The secret isn't to fight against the nature of acrylics but to work with it using a few simple tools and techniques. By extending the open time (the period the paint remains wet and blendable), you can achieve smoother gradients, softer edges, and more complex color mixing directly on your canvas. This is crucial for painting subjects like realistic skin tones or seamless landscape skies.
Popular Methods to Extend Drying Time
Artists have developed several clever methods to manage acrylic's fast-drying properties. These techniques, popularized by companies like Golden Artist Colors and Masterson Art Products, are now standard practice in many studios.
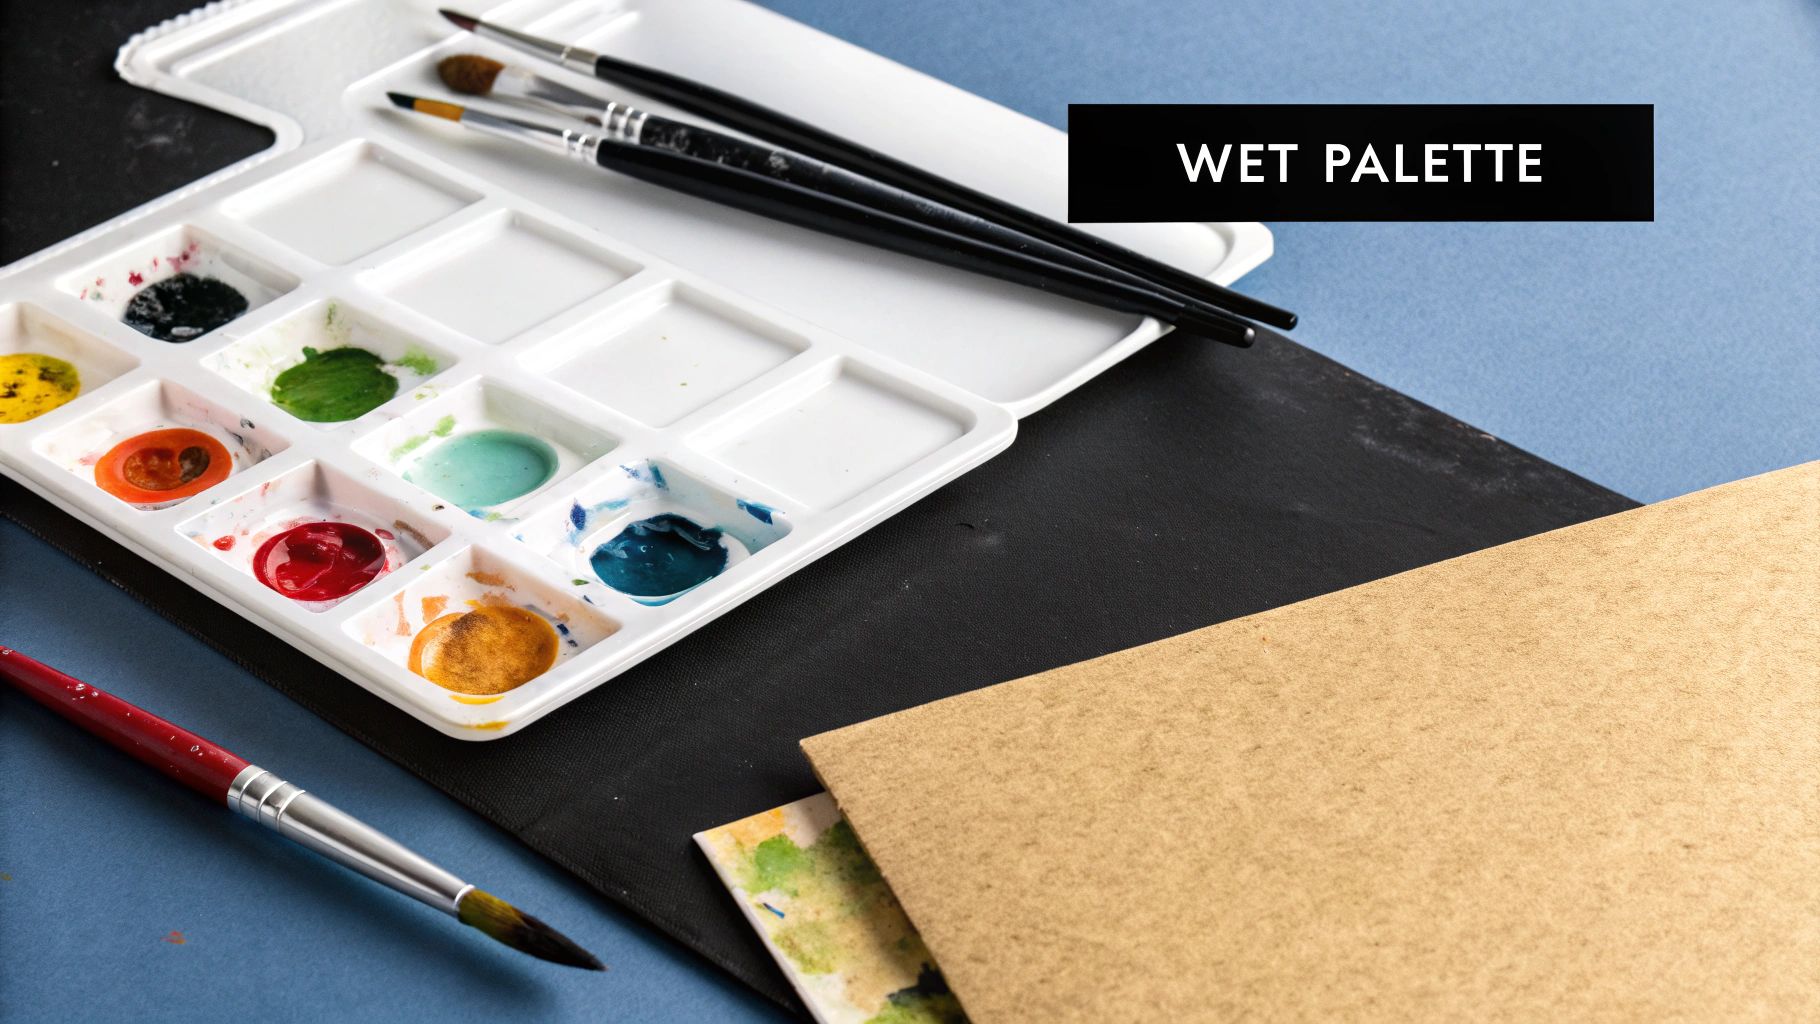
- Use a Wet Palette: A wet palette is a game-changer. It's essentially a container with a sponge and a special sheet of palette paper on top. The water from the sponge slowly seeps through the paper, keeping the paint on its surface moist for hours, or even days. You can buy one, like the popular Sta-Wet palette, or easily make your own.
- Mist Your Canvas and Palette: A simple spray bottle filled with water is an indispensable tool. Lightly mist your palette every 10-15 minutes to keep the paint workable. You can also gently mist the area of the canvas you're working on to facilitate smoother blending, a technique often used by landscape artists for soft, cloudy skies.
- Add a Retarding Medium: A retarding medium is a special additive that you mix directly into your paint to slow down the evaporation process. A little goes a long way; start by mixing in just a small amount (around 10% medium to 90% paint) and see how it affects your working time. This is a favorite trick of portrait painters who need extra time to blend delicate skin tones.
Key Insight: Controlling your paint's drying time is about gaining creative freedom. It transforms acrylics from a fast and sometimes unforgiving medium into a versatile one that supports both quick layering and slow, deliberate blending.
This summary box highlights the core advantages of adopting various techniques to manage the drying time of your acrylic paints.
These methods are all about adapting the paint to fit your specific needs for a project. Whether you're blending a sunset or meticulously rendering a portrait, understanding how to control the drying time will unlock new possibilities and make your painting process far more enjoyable and predictable.
3. Understanding Canvas and Surface Preparation
It’s easy to get caught up in the excitement of paints and brushes, but the surface you paint on is just as important as the colors you choose. Proper surface preparation is a fundamental, yet often overlooked, step for creating durable and professional-looking artwork. Skipping this stage can lead to frustrating issues like poor paint adhesion, uneven color application, and a final piece that won't stand the test of time.
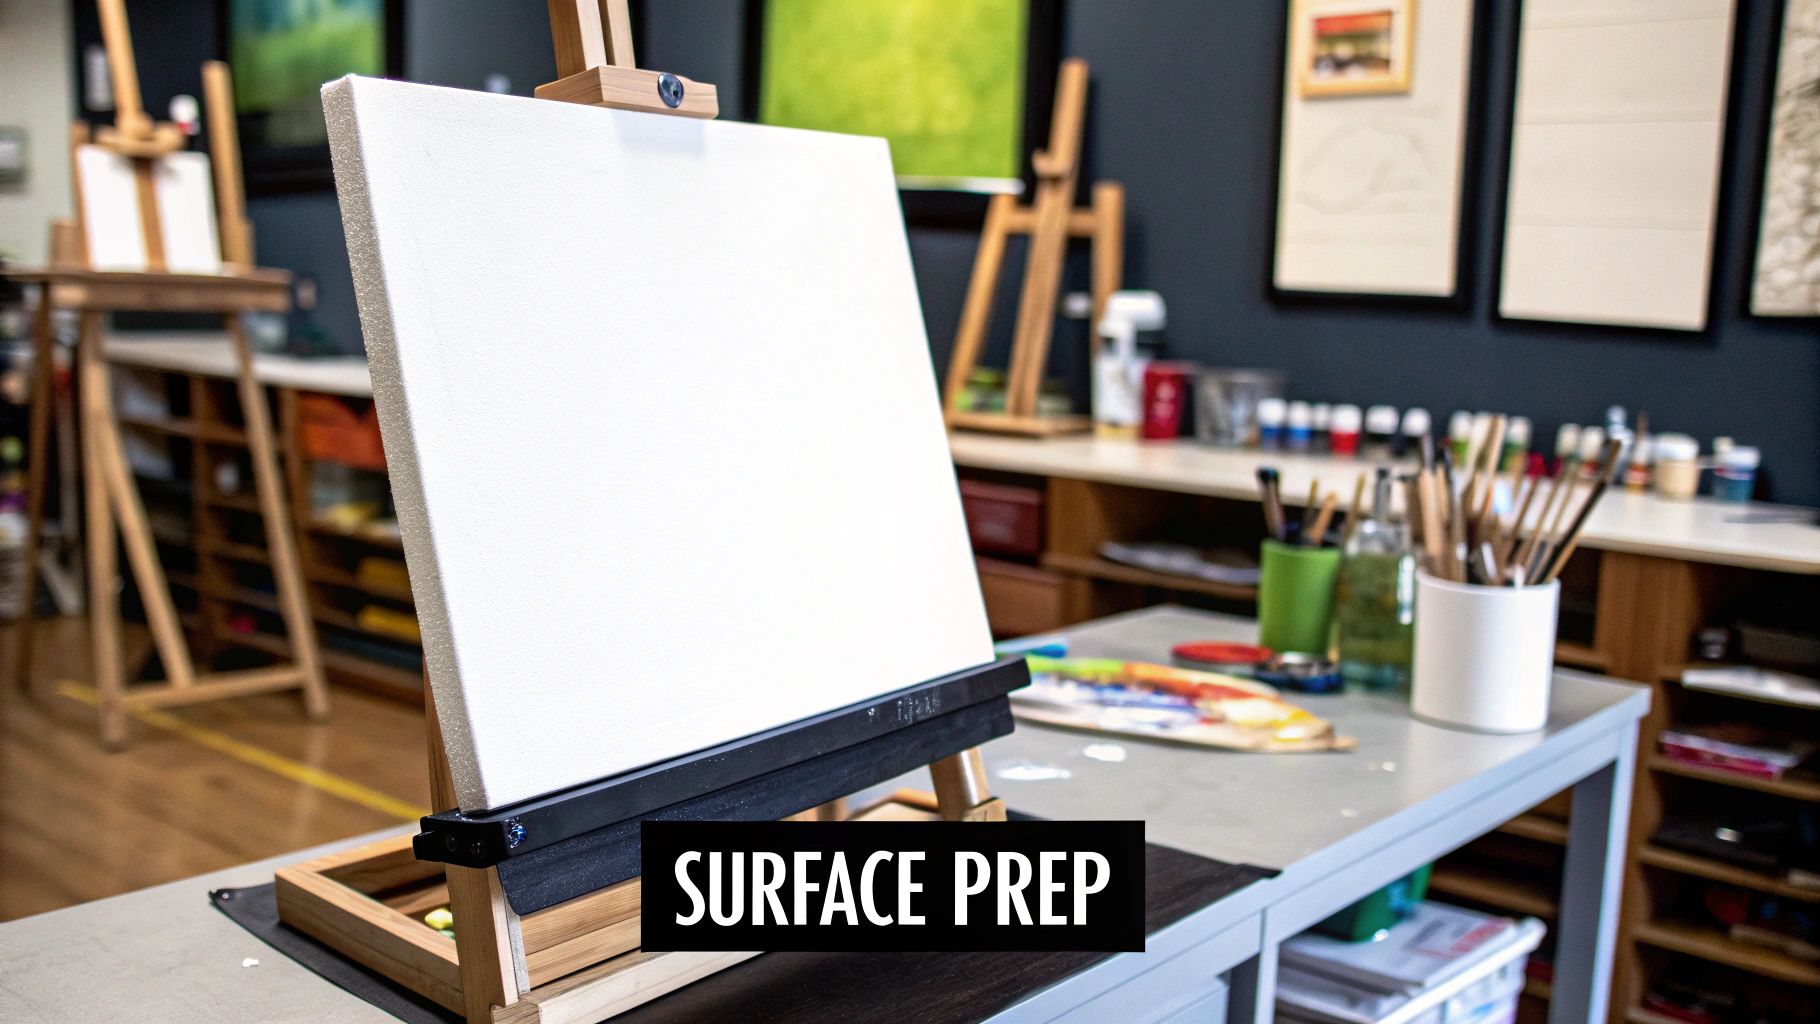
The process of preparing a surface, typically by applying a primer called gesso, creates an ideal foundation for acrylics. Gesso gives the surface a slight "tooth" or texture that helps the paint grip, ensuring your colors go on smoothly and vibrantly. While many canvases come pre-primed, adding extra coats can significantly improve your results, especially on student-grade surfaces.
Common Surfaces and How to Prep Them
Acrylics are incredibly versatile and can be applied to many materials, but each requires a specific approach. Here are some of the most popular choices for beginners:
- Pre-Stretched Cotton Canvas: The most common choice for beginners. These are usually pre-primed, but for a smoother, less absorbent surface, apply 1-2 additional thin coats of acrylic gesso.
- Canvas Boards: These are rigid, affordable, and great for practice. Like stretched canvases, they benefit from an extra layer or two of gesso to prevent the paint from sinking in and appearing dull.
- Wood Panels: A fantastic option for detailed work due to their smooth, rigid surface. Wood must be sealed first to prevent moisture damage and then primed with several coats of gesso. For a deeper dive, you can find a guide on mastering the art of preparing cradled wood panels for acrylic painting.
- Multimedia Paper: Heavyweight paper designed for wet media is a great low-cost option for practice. It typically doesn't require priming, but a light coat of gesso can prevent buckling.
Key Insight: Preparing your canvas isn't just a chore; it's the first step in controlling your medium. A well-primed surface allows your paint to perform at its best, giving you brighter colors and smoother brushstrokes.
Think of priming as setting the stage for your performance. By taking a little extra time to prepare your surface correctly, you ensure your creative vision is translated accurately onto the canvas. This professional habit is one of the most impactful acrylic painting tips for beginners to adopt early on.
4. Master Basic Brush Techniques and Care
Your brushes are your primary connection to the canvas, and learning how to choose, use, and care for them is as fundamental as learning to mix colors. Treating your brushes as valuable tools rather than disposable supplies is a crucial step for any aspiring artist. Good brushwork can transform a painting, and it all starts with understanding the basics.
This tip is about more than just cleaning; it's about developing control and intentionality in every stroke. Each brush is designed for a specific purpose, and knowing which one to grab and how to load it with paint can dramatically improve your efficiency and the final quality of your work. Proper care also protects your investment, ensuring your quality brushes last for years instead of weeks.
Essential Brush Shapes and Their Uses
While the variety of brushes can seem endless, you only need a few key shapes to handle most painting situations. Investing in a few high-quality brushes is far better than buying a large pack of cheap ones. Here are the must-haves for your beginner toolkit:
- Flat Brush: This versatile brush has a square end and is perfect for broad, bold strokes, filling in large areas of color, and creating sharp, crisp edges. It’s your go-to for backgrounds and blocky shapes.
- Round Brush: With its pointed tip, the round brush is ideal for detail work, fine lines, and outlining. The amount of pressure you apply can vary the line thickness, making it incredibly expressive.
- Filbert Brush: A hybrid between a flat and a round brush, the filbert has a flat body with a curved, oval tip. It’s excellent for soft blending, creating rounded shapes like flower petals, and general-purpose painting.
- Detail Brush: As the name suggests, this is a very small, fine-tipped round brush used for the most intricate details, like signing your name, adding highlights to eyes, or painting delicate textures.
Key Insight: A brush is an extension of your hand. Learning its unique capabilities allows you to translate your vision onto the canvas with precision and confidence. Don't just paint with it; practice making different marks to understand its full potential.
This summary box highlights the core advantages of mastering your brush techniques for your first acrylic painting projects.
As the infographic illustrates, the key is to build a foundational understanding of your tools. A common beginner mistake is to let acrylic paint dry on the bristles, which ruins the brush permanently. By developing good habits for usage and cleaning from day one, you ensure your tools remain in excellent condition, ready to help you create your next masterpiece.
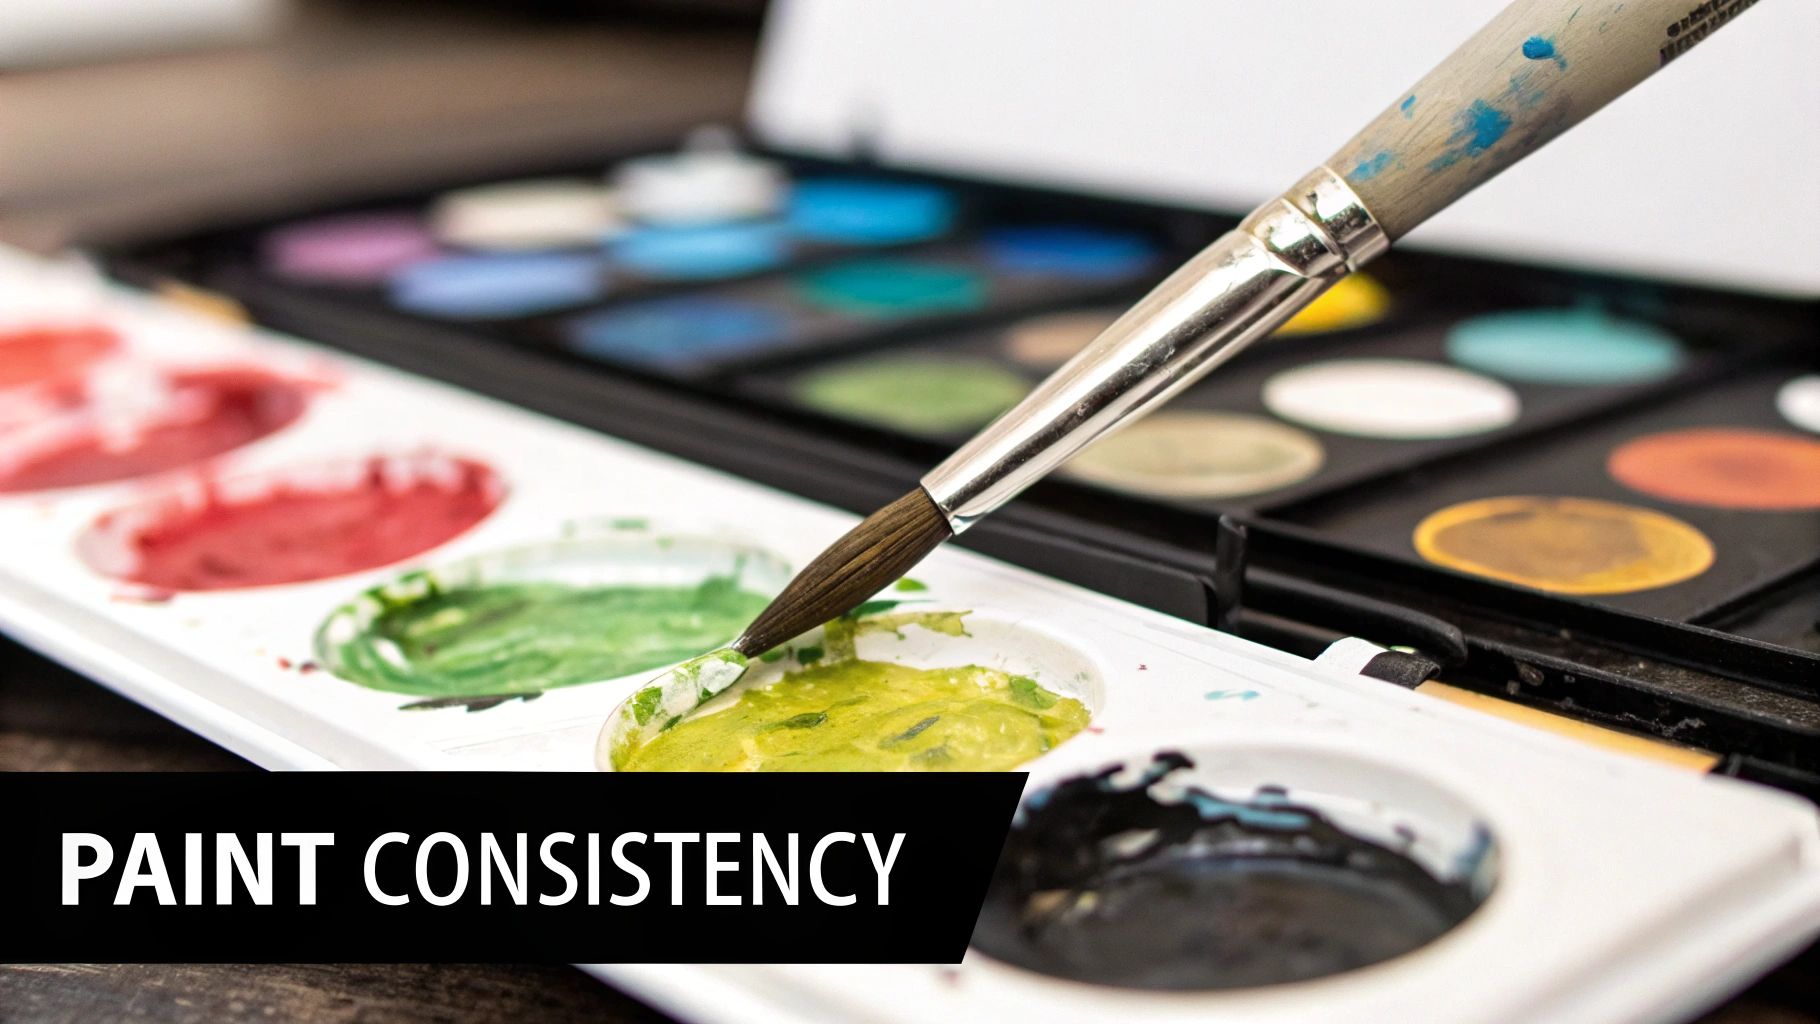
5. Learn Proper Paint Consistency and Water Ratios
One of the biggest hurdles for beginners is getting the paint to behave the way they want. It can feel too thick, too thin, or dry out before you're ready. This is where understanding paint consistency and how to modify it becomes a critical skill. Learning the proper water-to-paint ratios, and when to use specialized mediums instead of water, unlocks a massive range of artistic effects.
Acrylic paint is essentially pigment suspended in a polymer binder. Adding water thins the paint, making it more fluid, but adding too much can break down that binder. This leads to a chalky finish and poor adhesion, meaning your paint might flake off the canvas over time. Mastering consistency is about finding the right balance for your desired technique, ensuring the paint flows beautifully while remaining structurally sound.
Common Consistencies and Their Uses
The way your paint flows off the brush dramatically impacts the final look. Companies like Liquitex and Golden Artist Colors have developed mediums to help artists achieve these effects without compromising paint quality. Here are a few examples of how you can adjust your paint for different results:
- Thick & Buttery (Impasto): Use the paint straight from the tube for thick, textured applications where you want brushstrokes to be visible. This is great for adding physical dimension to your work.
- Smooth & Creamy (Blending): Add a tiny amount of water or a flow-aid medium to achieve a consistency like melted ice cream. This is perfect for creating smooth gradations and seamless blends between colors. To explore this further, learn more about how to mix paint colors for a flawless finish.
- Inky & Fluid (Detailing): For fine lines and delicate details, you'll want a consistency similar to ink. Mix your paint with a flow-aid medium or a small amount of water until it glides effortlessly from the tip of your brush.
- Transparent & Watery (Glazing): To create thin, transparent layers of color, mix a small amount of paint (about 10-20%) with a glazing medium. This is different from just adding water, as the medium preserves the binder and adds transparency.
Key Insight: Think of water and mediums as tools to change the paint's behavior, not just its thickness. The right additive can extend drying time, increase transparency, add gloss, or create texture, giving you complete control over your medium.
This approach transforms acrylic paint from a single-use product into a versatile medium capable of mimicking everything from thick oil paints to transparent watercolors. Experimenting with different consistencies is one of the most exciting and rewarding acrylic painting tips for beginners.
6. Clean Your Brushes Immediately and Thoroughly
One of the most defining characteristics of acrylic paint is how quickly it dries. While this is a fantastic advantage during the painting process, it can be a disaster for your tools. This is why one of the most practical acrylic painting tips for beginners is to clean your brushes immediately after use, even if you’re just taking a short break. Neglecting this simple habit is the fastest way to ruin a good brush forever.
Unlike oils, which stay wet for days, acrylics are essentially liquid plastic. Once the water evaporates, the acrylic polymer binds together and hardens permanently. If that happens deep within the bristles of your brush, especially near the metal ferrule, the brush will lose its shape, become stiff, and be rendered useless. Developing a disciplined cleaning routine from your very first painting session will save you frustration and money.
Effective Brush Cleaning Protocols
Proper brush care isn't just about a quick rinse; it's a systematic process that ensures the longevity of your tools and the purity of your colors. Here are some established methods used by artists everywhere:
- The Two-Container System: This is a classic for a reason. Keep one container of water for the initial, dirty rinse to get the bulk of the paint off. Use a second, cleaner container of water for a final rinse before you pick up a new color. This prevents muddying your paint mixes.
- End-of-Session Deep Clean: When you're done painting for the day, a simple water rinse isn't enough. Use a dedicated brush soap or a gentle dish soap. Work the lather into the bristles with your fingers, right down to the ferrule, and rinse thoroughly under lukewarm running water until no color remains.
- Reshape and Dry Properly: After cleaning, gently squeeze out excess water and reshape the bristles to their original point or edge with your fingers. Never leave brushes to dry standing up in a jar, as water will seep into the ferrule, loosening the glue and damaging the wooden handle. Lay them flat or hang them bristle-down to dry.
Key Insight: Treat your brushes as an investment, not a disposable tool. Consistent, thorough cleaning is non-negotiable maintenance that directly impacts the quality of your work and the lifespan of your supplies.
This disciplined approach ensures your brushes remain responsive and reliable for years to come. By adopting these professional habits early on, you prevent the common beginner mistake of letting expensive tools go to waste, allowing you to focus on developing your painting skills rather than fighting with damaged equipment.
6-Key Acrylic Painting Tips Comparison
| Item | Implementation Complexity 🔄 | Resource Requirements ⚡ | Expected Outcomes 📊 | Ideal Use Cases 💡 | Key Advantages ⭐ |
|---|---|---|---|---|---|
| Start with a Limited Color Palette | Low - basic color selection | Low - few essential paints | Builds strong color mixing skills; natural color harmony | Beginners learning color theory; budget-conscious starters | Cost-effective; reduces decision fatigue; foundational skills |
| Keep Your Paints Wet with Proper Techniques | Medium - requires specific tools and timing | Medium - wet palette, mediums, spray | Extended working time; smooth blending; wet-on-wet painting | Artists needing blending control; complex color transitions | Longer paint usability; better blending control |
| Understanding Canvas and Surface Preparation | Medium - prep steps before painting | Medium - gesso, primers, surfaces | Proper paint adhesion; uniform coverage; increased longevity | All painters seeking durable, quality finish | Ensures paint durability; consistent paint application |
| Master Basic Brush Techniques and Care | Low to Medium - brush selection and maintenance | Medium - quality synthetic brushes | Improved technique; prolonged brush life; better paint handling | All painters focusing on brushwork and brush longevity | Enhances technique; cost-saving over time; cleaner application |
| Learn Proper Paint Consistency and Water Ratios | Medium - requires practice & medium use | Medium - mediums & water | Improved flow; maintains paint integrity; varied effects | Painters exploring glazing, impasto, or varied textures | Better paint performance; reduced defects; versatile use |
| Clean Your Brushes Immediately and Thoroughly | Medium - disciplined routine | Low to Medium - water, soaps | Prolonged brush lifespan; color purity; consistent results | All painters needing tool maintenance | Saves money; prevents tool damage; maintains color quality |
Your Next Brushstroke: Putting Your Skills into Practice
You've made it through a deep dive into the foundational pillars of acrylic painting, and now the blank canvas awaits. We've journeyed from the strategic power of a limited color palette to the non-negotiable habit of meticulously cleaning your brushes. These aren't just abstract ideas; they are the practical, repeatable actions that build artistic confidence and skill.
Remember, every single artist, from hobbyists painting for fun to professional masters, started exactly where you are now. They all had to learn how to manage paint consistency, how to prep a surface, and how to make a brush do what they envisioned. The difference between a beginner and an expert is simply a matter of dedicated practice and the courage to apply these fundamentals consistently.
Turning Knowledge into Masterpieces
The real magic happens when you move from reading to doing. The collection of acrylic painting tips for beginners you've just explored is your launchpad. Let’s distill them into a clear path forward:
- Embrace Simplicity: Start your next project with just a few core colors. This will train your eye for color mixing and value, a skill that is far more critical than owning every tube of paint in the art store.
- Control Your Medium: Actively manage your paint's drying time. Use a stay-wet palette or a simple water mister. Don't let the paint dictate your pace; you are the one in control of the canvas.
- Build on a Solid Foundation: Never skip surface preparation. A properly gessoed canvas or board is the difference between fighting your materials and having them work for you. A smooth, primed surface accepts paint beautifully and allows your colors to appear as vibrant as you intend.
The most important takeaway is this: action is everything. Knowledge is potential, but application is power. Don't fall into the trap of analysis paralysis, waiting for the "perfect" idea or feeling like you need to know more before you can start. Your best teacher will be the experience you gain with each brushstroke, each color you mix, and even each "mistake" you make.
Key Insight: Progress in art is not a straight line. It's a spiral of learning, applying, making mistakes, and learning again. Every painting, whether it feels like a success or a failure, adds invaluable mileage to your artistic journey.
Your next step is simple yet profound: begin. Pick one idea, one subject, and one small canvas. Apply the principles of proper water ratios and basic brush techniques. See what happens. The goal isn't to create a flawless masterpiece on your first try. The goal is to start the rewarding process of transforming a blank surface into a reflection of your vision, learning and growing with every layer of paint. Enjoy the journey, stay curious, and celebrate the act of creation.
Feeling inspired and want to see where these fundamentals can lead? For a stunning example of what’s possible with acrylics, explore the breathtaking wildlife and pet portraits at William Tucker Art. See how a master applies these very same foundational skills to create hyper-realistic and emotionally resonant works of art. Visit William Tucker Art to witness the incredible potential of the acrylic medium.