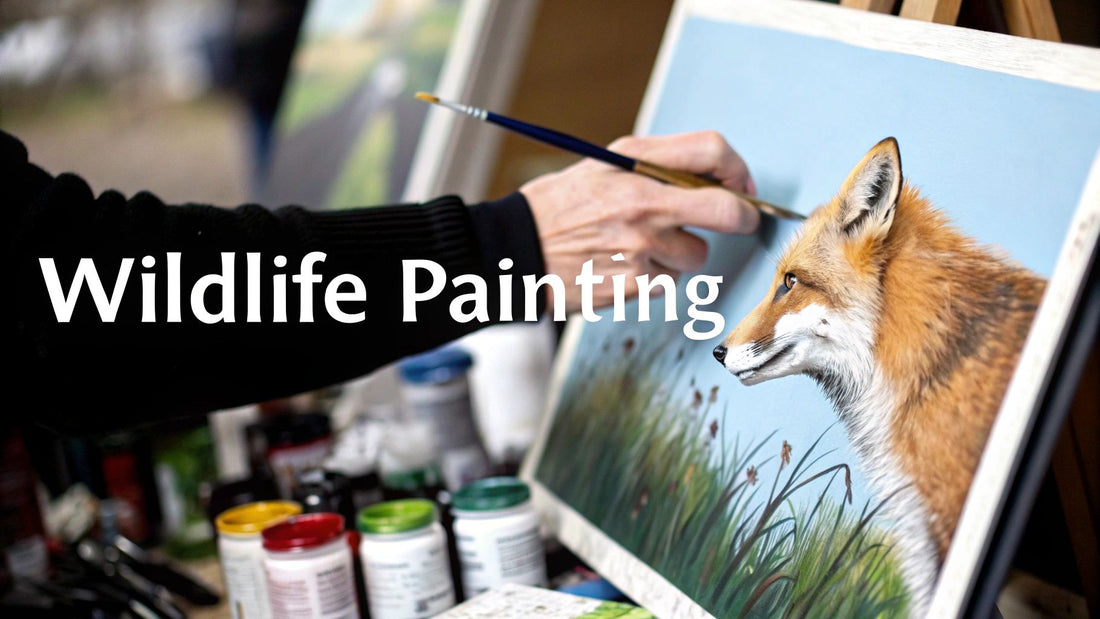
So, you're ready to dive into the vibrant world of wildlife art? That's fantastic! Your very first step, and honestly one of the most important, is choosing your paint. This decision will shape how you learn, how you paint, and the final look of your artwork. The two most popular and accessible paints for new artists have always been watercolor and acrylics, and for good reason.
Choosing Your First Paint and Palette
Think of this as choosing your creative partner. Each medium has its own personality, its own quirks, and its own strengths. Your choice here will influence everything from how you handle your brush to the way you build up color and texture on your canvas.
Watercolor is like a free-spirited storyteller—fluid, transparent, and perfect for capturing the soft, ethereal light on a bird’s wing. On the other hand, acrylics are the bold and versatile workhorses. They're ideal for building up the rich, textured fur of a bear or the bright, shimmering scales of a fish.
Let's break down what makes each one unique.
Watercolor: The Spontaneous Storyteller
There's a certain magic to watercolor. It's known for its stunning, transparent qualities. Instead of sitting on top of the paper, the pigment stains the fibers, allowing the white of the paper to shine through. This is what gives watercolor paintings that signature luminosity that's so hard to match.
The catch? Its fluid nature means it can be a bit unforgiving. Once you put down a mark, it’s pretty much there to stay. This isn't a bad thing, though! It encourages you to be more decisive and confident in your strokes, learning to embrace the happy accidents and let the water do some of the work. For wildlife, it’s amazing for creating soft, out-of-focus backgrounds and delicate details, like the gossamer-thin membrane of a dragonfly's wing.
Acrylic: The Versatile Workhorse
Acrylic paint is basically a pigment suspended in a plastic polymer. It's the chameleon of the art world. You can thin it down with water to mimic the look and feel of watercolors, or you can apply it thick and straight from the tube for textures that rival oil paints.
For a beginner, the biggest win with acrylics is how forgiving they are. Made a mistake? No problem. Just let it dry—which happens in minutes—and you can paint right over it. This freedom to experiment, correct, and layer without fear is a massive confidence booster when you're just starting out.
Interestingly, while acrylics offer this safety net, watercolors remain a huge favorite for newcomers. Some data shows that roughly 55-60% of beginners lean towards watercolor first, often because it seems less intimidating to set up.
To help you decide, here's a quick rundown of the main differences.
Quick Comparison of Beginner-Friendly Paints
| Feature | Watercolor Paint | Acrylic Paint |
|---|---|---|
| Drying Time | Fast, but workable while wet | Very fast |
| Forgiveness | Low (hard to cover mistakes) | High (easy to paint over) |
| Opacity | Transparent | Opaque (but can be thinned) |
| Cleanup | Easy (just water) | Easy with water (when wet) |
| Texture | Flat, smooth | Can build thick textures |
| Best For | Soft blends, luminous effects | Bold colors, layering, texture |
Ultimately, there's no "wrong" choice here. It's about picking the medium that gets you most excited to pick up a brush and start painting.
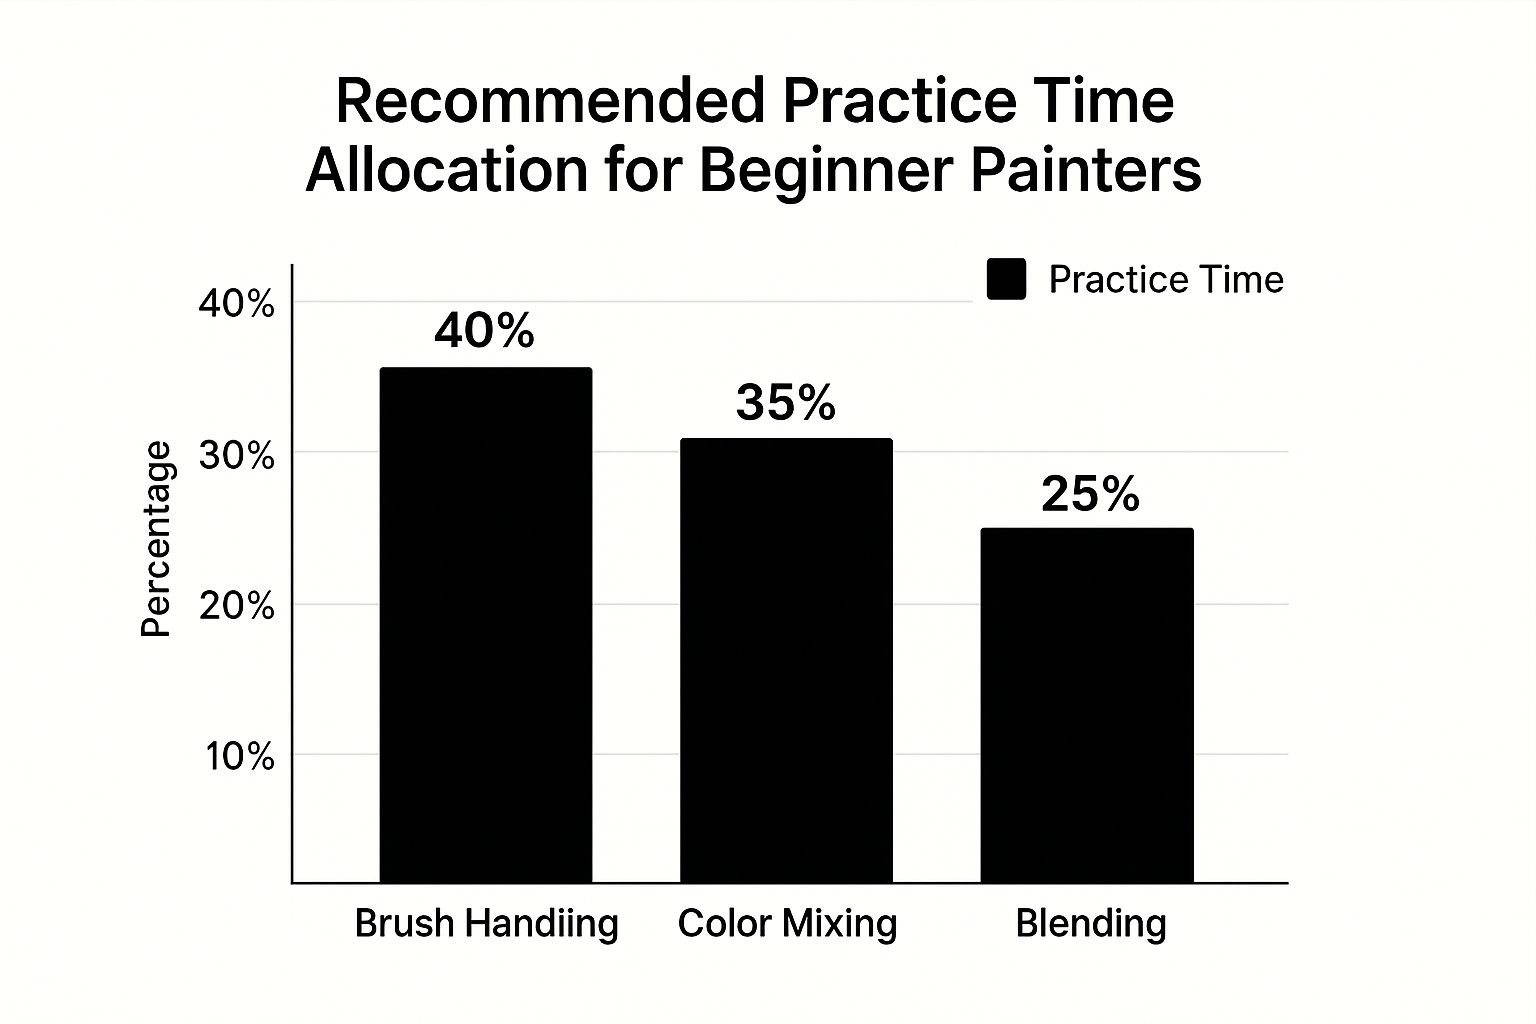
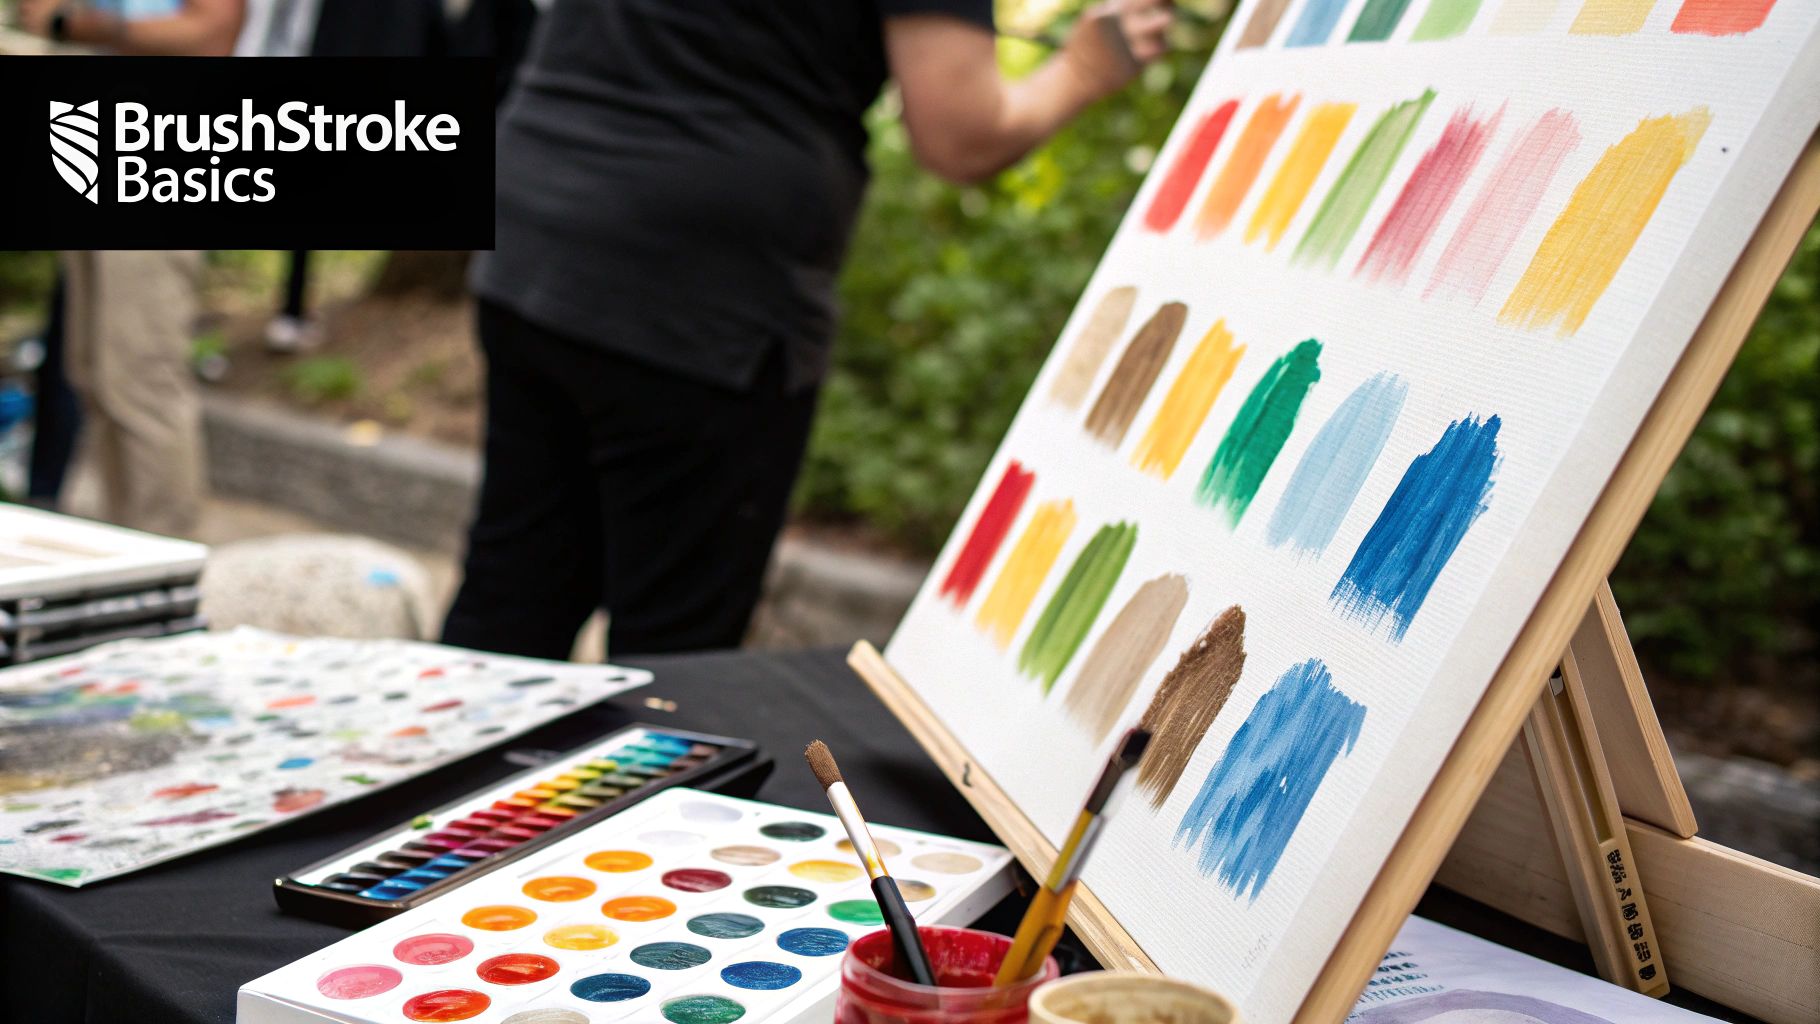
This chart gives you a good idea of where to focus your energy once you start. Mastering your tools is always the first hurdle, which is why brush handling takes up the biggest chunk of practice time. From there, you can really dive into the fun stuff like mixing colors and creating smooth blends.
Once you’ve settled on your paint, you’ll need the right tools to bring your vision to life. To get set up, be sure to check out our complete guide on the top 10 must-have art supplies for beginners.
Building Your Essential Artist Toolkit
Before you can capture the stunning gaze of an eagle or the playful spirit of a fox, you need to gather your gear. Walking into an art supply store can feel a little overwhelming, with aisle after aisle of tempting gadgets. But here’s the secret: building a solid artist's toolkit is about making smart, focused choices, not just buying everything in sight.
And you're not alone on this journey. The market for basic painting tools is booming. In 2023, it was valued at over $10.8 billion, with a huge chunk of that—around $7.6 billion—coming from brick-and-mortar stores. This just goes to show that many artists, especially beginners, prefer to actually see and feel their tools before buying. You can dive deeper into the painting tools market trends on gminsights.com.
Honestly, it makes perfect sense. The weight of a brush in your hand or the texture of a canvas is a really personal thing.
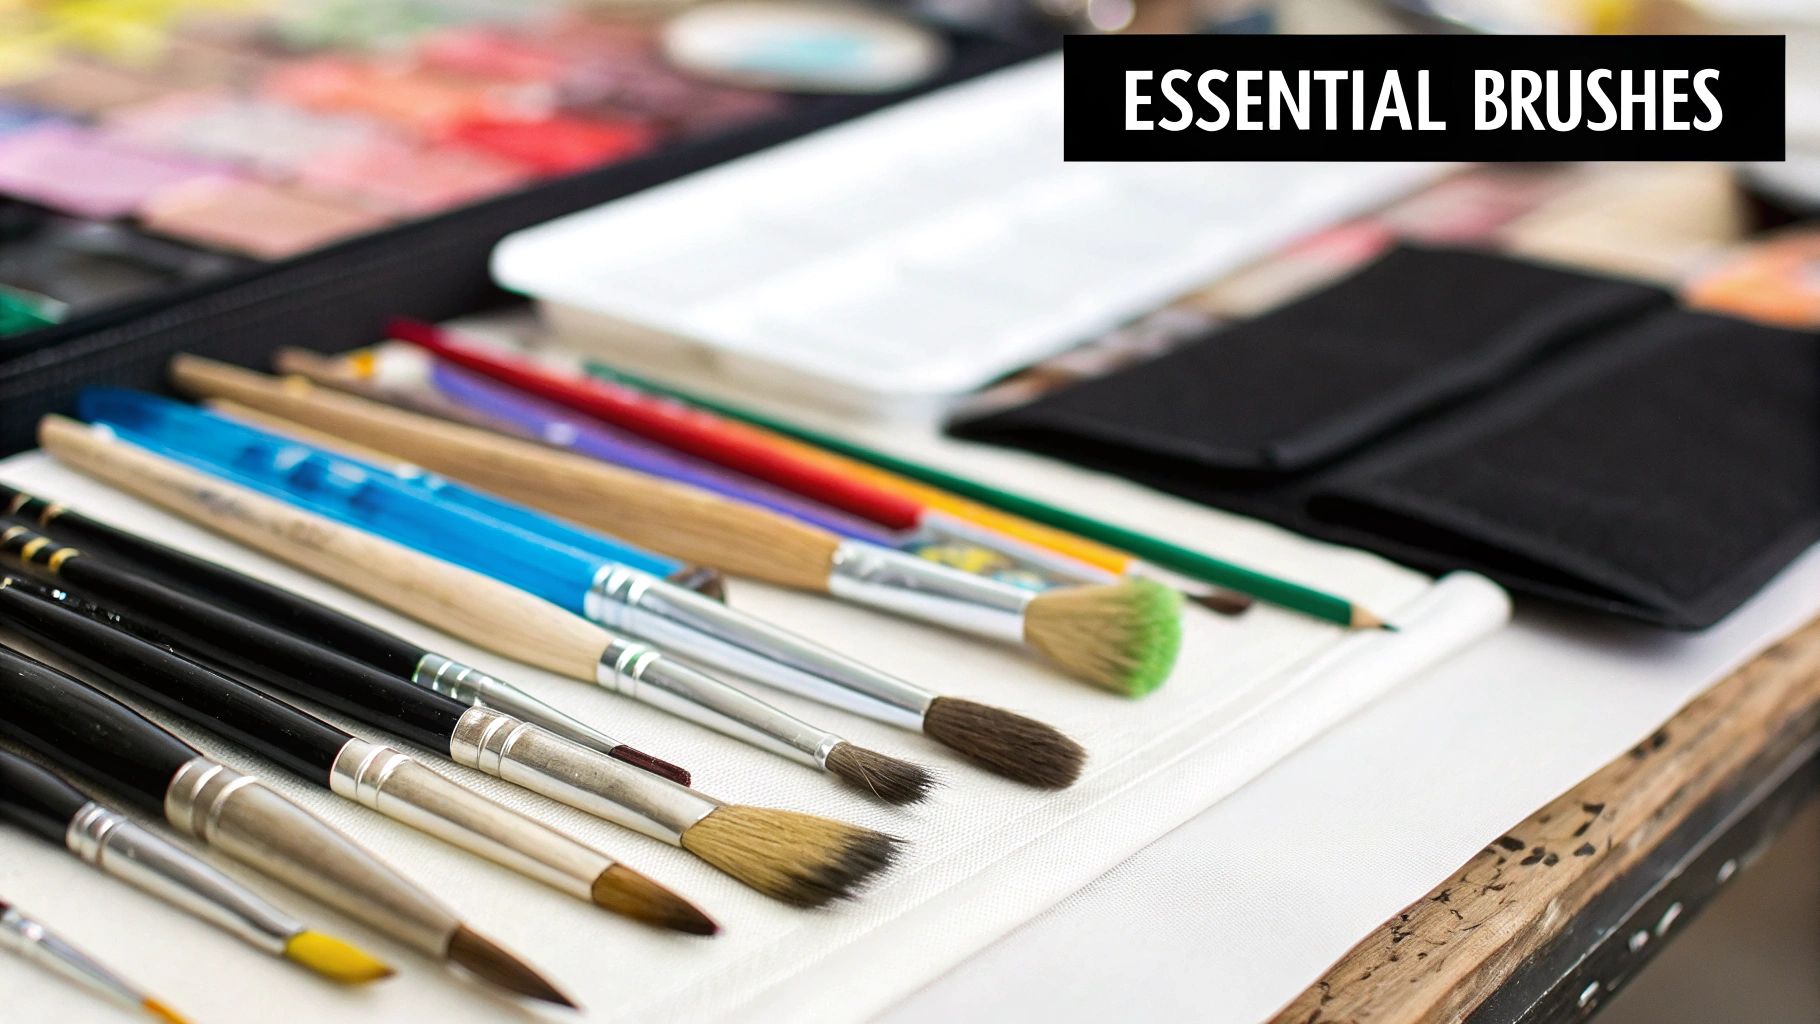
Choosing Your Core Brushes
You don't need a giant jar overflowing with every brush type imaginable. In fact, starting with just a few versatile workhorses is the fastest way to truly master your brushstrokes. For wildlife art, I always tell my students to start with these three key shapes.
- Round Brush: This is your detail specialist. A small-to-medium round brush (think a size 4 or 6) is perfect for painting the glint in an animal's eye, delicate strands of fur, or the sharp talons on a bird of prey.
- Flat Brush: A half-inch to one-inch flat brush is your go-to for covering larger areas. Use it for broad, sweeping strokes to block in the body of an animal, create backgrounds, or paint the flat planes of a rocky outcrop.
- Filbert Brush: My personal favorite! This brush is a hybrid with a rounded tip, giving you the best of both worlds. It creates beautiful, soft edges for fur and feathers, but turn it on its side, and you can get a surprisingly sharp line.
When you're at the store, don't just reach for the cheapest multipack. Pick up a brush and feel the bristles. You want something with a bit of spring that snaps right back into shape. Good-quality synthetic brushes are fantastic—they're affordable, durable, and work great with both acrylics and watercolors.
Selecting Your Painting Surface
Think of your paint and your surface as a team—they have to work together. For beginners, the main choices are canvas and paper, and the type of paint you're using will point you in the right direction.
For Acrylics:
Stretched canvas is the classic choice. It comes ready to use and has that satisfying, springy feel under the brush. For practice and smaller studies, canvas boards or panels are a more budget-friendly and space-saving alternative. They give you a nice, rigid support that's great for learning.
For Watercolors:
Whatever you do, don't use regular printer paper! It will buckle and warp into a mess. You absolutely need watercolor paper, which is made to handle lots of water. Look for paper labeled "cold press" at 140 lb (300 gsm). This weight is sturdy enough to prevent most buckling, and its slight texture is gorgeous for capturing the feel of wildlife.
A little tip from my own studio: If you're using acrylics, always apply a layer of gesso to your canvas first, even if it says it's "pre-primed." One quick coat creates a smoother, less absorbent surface. Your paint will glide on more easily, and your colors will pop with so much more vibrancy.
Essential Extras You'll Actually Use
Beyond your brushes and surface, a few more items will round out your toolkit. Keep it simple and functional.
- A Palette: You don't need a fancy wooden one to start. A simple ceramic plate from the kitchen, a sheet of wax paper taped to your desk, or a disposable paper palette pad works perfectly.
- Water Jars: Always use two! One is for rinsing the gunk off your brushes, and the other is for clean water to thin your paints. This one little trick will keep your colors from turning to mud.
- Paper Towels or a Rag: Non-negotiable. You'll need these constantly for blotting excess paint off your brush, lifting out mistakes, and general cleanup.
- An Easel (Optional but Recommended): While you can get by without one at first, a small tabletop easel makes a huge difference. It helps your posture and, more importantly, gives you a better perspective on your work, preventing the distortion that happens when you paint on a flat table.
With these carefully chosen tools, you’re not just prepared—you’re set up for success. You have everything you need to start exploring those core painting techniques for beginners without getting bogged down by clutter and confusion.
Developing Your Core Brushwork Skills
Your brush is so much more than a stick for slathering paint on a canvas. Think of it as an extension of your hand, the tool that translates your vision into reality. Mastering its language is really the secret to creating wildlife art that feels alive and full of energy. This is where we get past just holding the brush and start making marks that actually breathe life into your animals.
Just picture the difference between the sleek, wet skin of a dolphin and the impossibly fluffy coat of a red panda. Nailing those distinct textures comes down to one thing: brushwork. It’s all in how you load the paint, the pressure you use, and the direction you pull the stroke. These simple actions are the building blocks for all the more advanced painting techniques for beginners we’ll cover.
Before we jump into specific strokes, let's talk about something that trips up almost every new painter—hand pressure. A light touch can give you those delicate, whisper-thin lines perfect for whiskers or blades of grass. On the other hand, a firm, confident press lays down a solid, opaque patch of color, ideal for the main body of your animal. Get a scrap piece of canvas and just practice making marks with different amounts of pressure. You’ll feel the difference right away.
Creating Soft and Fuzzy Textures with Scumbling
One of the most valuable techniques you'll ever learn for painting fur and feathers is scumbling. This is your secret weapon for creating the soft fuzz on a bear's ear or the downy fluff on a baby owl. Scumbling is all about using a dry, stiff-bristled brush with just a tiny amount of paint on it.
You gently scrub or dab the paint onto the canvas in a random, broken pattern. The goal here isn't to create a smooth, solid coat. Instead, you're letting little specks of the color underneath peek through. This creates a beautiful illusion of a soft, airy texture.
Let’s say you’re painting a grizzly bear. You’d start by laying down your base colors for the fur. Once that layer is dry, you can come back in and scumble lighter and darker browns over the top to build up that classic shaggy look. The trick is to use an almost-dry brush; too much paint will just give you a flat, muddy mess.
I remember struggling for ages to paint the soft underbelly of a fox until I finally got the hang of scumbling. My instinct was to blend everything perfectly, but nature isn't smooth! Allowing those little imperfections and broken colors to show is what finally sold the illusion of real fur.
Capturing Rough Surfaces with Dry Brushing
Closely related to scumbling is another fantastic technique: dry brushing. While scumbling gives you soft, broken color, dry brushing is what you'll use for rough, weathered textures. This is your go-to for things like tree bark, cracked earth, or the tough, wrinkled hide of a rhinoceros.
The process is pretty similar. You'll start with a dry brush, load it with a little bit of thick paint, and then wipe most of it off on a paper towel. Seriously, you want just a hint of pigment left on the bristles.
Next, you lightly drag the brush across the raised surfaces of your canvas or over a textured area you've already painted. The paint will only catch on the high points, leaving the lower parts untouched. This creates instant highlights and an incredibly realistic sense of roughness. For a rhino's hide, you could lay down a dark base coat and, once it's dry, dry brush a lighter gray over it to pick out all the bumps and folds in its skin.
Essential Strokes for Wildlife Details
Beyond creating broad textures, you need a few key strokes in your arsenal to define the little things that make your subject recognizable. Getting comfortable with a few specific brushes and the marks they make will elevate your work in a big way.
-
The Rigger for Fine Lines: A rigger brush, with its long, skinny bristles, is made to hold a lot of watery paint. This makes it perfect for long, unbroken lines. Use it for the graceful whiskers of a tiger, the delicate veins in a leaf, or flowing blades of grass.
-
The Fan Brush for Layered Feathers: This brush can look a little strange, but it's a game-changer for organic, layered effects. Just dip the tips in paint and use a light, tapping motion. You can quickly build up the look of layered feathers on a bird's wing or chest. Try varying the color slightly on each pass to create more depth.
-
The Flat Brush for Blocking In: Use the broad side of a flat brush to quickly "block in" the main shapes and colors of your animal. This is a crucial first step that helps you map out the overall form and composition before you get bogged down in the tiny details.
Think of these painting techniques as your foundational vocabulary. Grab a spare canvas and just play. Fill a page with scumbled circles, dry-brushed patches, and all sorts of lines. The more you practice these motions, the more natural they'll feel, and the easier it will be to make your animals leap off the canvas.
2. Bringing Your Colors to Life with Mixing and Layering
Color is the absolute soul of your painting. It’s what turns a simple sketch of a deer into a living, breathing creature standing in the dappled morning light. For so many new artists, though, color mixing can feel like an impossible puzzle.
The good news? You really don't need dozens of paint tubes to create the rich, natural colors you see in the wild.
In fact, one of the most powerful painting techniques for beginners is learning to mix a huge range of natural hues from a very small, limited palette. This trick not only saves you a ton of money but also forces you to understand how colors truly relate to one another. The result is always more harmonious, believable paintings.
Let's dive into how you can start mixing those tricky natural tones and using layers to build that "wow" factor.
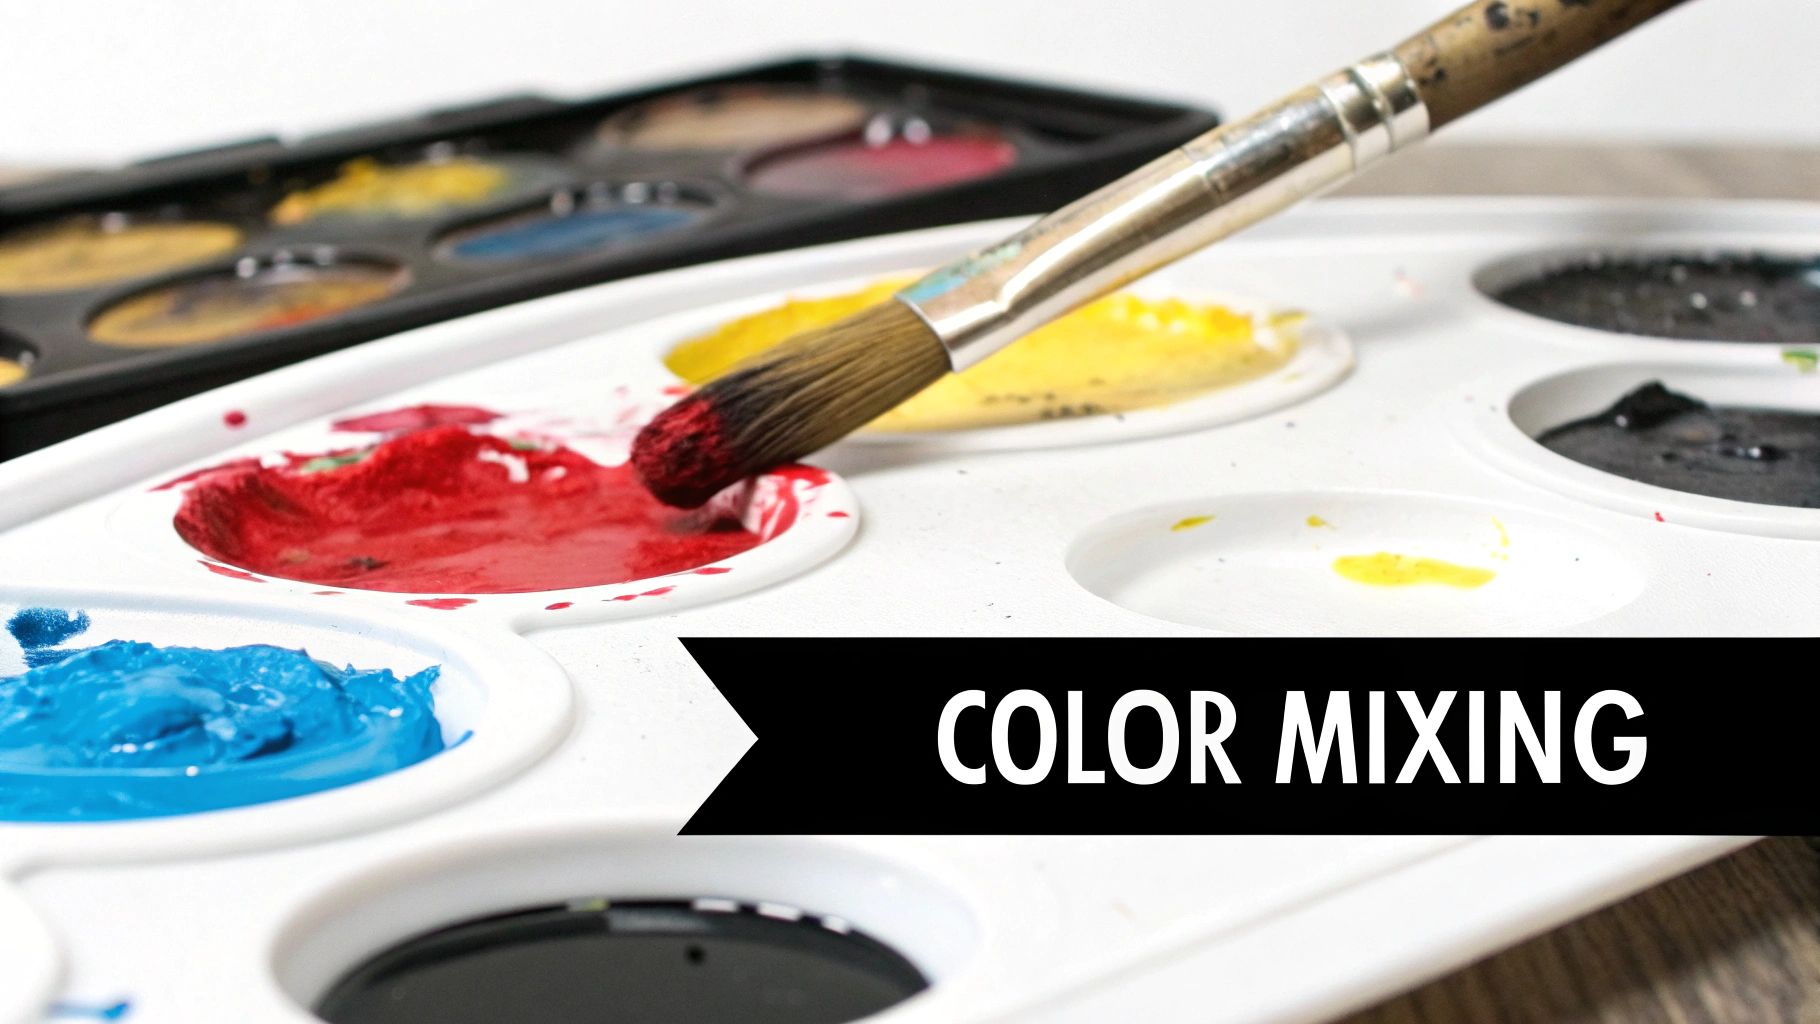
Mixing Natural Colors From a Simple Palette
The secret to mixing believable browns, grays, and greens isn’t about grabbing tubes labeled "Burnt Umber" or "Sap Green." It's about understanding that these earthy colors are just less intense versions of the primary and secondary colors you already know.
To get started, you really only need a handful of core colors. I recommend building your palette around these:
- A warm red (like Cadmium Red Light)
- A cool red (like Alizarin Crimson)
- A warm blue (like Ultramarine Blue)
- A cool blue (like Phthalo Blue)
- A warm yellow (like Cadmium Yellow)
- Titanium White
With just these six tubes, you can mix nearly any color you'll ever need for your wildlife art. The key is to use complementary colors—those sitting opposite each other on the color wheel—to neutralize or "dull down" a hue. For instance, red and green make brown. But since you don't have a tube of green, you'll simply mix your yellow and blue to make it first!
My Personal Breakthrough: For years, the fur on my animals looked flat and almost cartoonish. The "aha!" moment came when I stopped reaching for a pre-mixed tube of brown paint. A brown mixed from red, yellow, and a touch of blue has so much more life and variation. It automatically connects with the other colors in your painting because it’s made from the same color "DNA."
This self-taught approach is more common than you'd think. It's estimated that about 60% of amateur artists are self-taught, learning foundational skills just like this one. It's part of a huge creative boom that saw the global art market reach $67.4 billion in 2020. If you're interested in the numbers, you can explore more about the global growth of the art market on globalgrowthinsights.com.
The Power of Layering for Depth and Realism
Once you have your colors mixed, the next step is getting them onto the canvas. This is where layering comes in, and it's how your painting truly starts to gain dimension. Instead of trying to nail the perfect color and value in one shot, you'll build it up, one thin layer at a time.
Two of my favorite and most effective layering techniques are glazing and wet-on-wet blending.
Glazing to Add Luminosity
Glazing is all about applying a very thin, transparent layer of paint over a completely dry underlayer. Think of it like looking through a piece of colored glass—the color underneath is still visible, but it's tinted by the new color on top.
This technique is absolutely phenomenal for adding richness and depth. Let's say you're painting the warm, glowing fur of a lion at sunset. You could paint the fur in its mid-tone yellows and browns first. Once it's bone dry, you can apply a very thin glaze of a transparent orange or red over it. This gives the fur that warm, magical glow without hiding all the beautiful detail you've already painted underneath.
Wet-on-Wet Blending for Soft Transitions
This one is exactly what it sounds like: you apply wet paint directly onto another layer of wet paint. This lets the colors mingle and blend right on the canvas, creating incredibly soft and seamless transitions from one color to another.
It's the perfect method for creating a soft-focus background, a dreamy, cloudy sky, or the subtle shift in color on an animal’s coat.
Imagine you're painting a bird and want that soft, blurry background to make it stand out. You’d apply your greens and browns to the canvas and, while they are still wet, gently blend them together with a clean, soft brush. The hard edges will melt away, pushing the background back and making your subject pop right off the canvas. This is a foundational skill that will give your wildlife art a truly professional touch.
Creating Realistic Textures in Your Wildlife Art
What’s the secret ingredient that turns a good painting into a great one? For me, it’s all about texture. Color brings personality to your wildlife subjects, no doubt. But texture is what makes them feel real enough to touch.
This is where we go beyond simple shapes and shades to capture an animal’s true essence—whether it’s the rugged, tough hide of a rhino or the sleek, glossy fur of an otter. We're about to get hands-on with some of my favorite tools and painting techniques for beginners to make your art feel as authentic as it looks. You'll see how a small shift in your approach can totally transform your painting's surface, adding a level of realism that pulls the viewer right in.
Using a Palette Knife for Bold Textures
One of the quickest ways to inject some serious texture is to swap your brush for a palette knife. This tool is for so much more than just mixing colors; it's fantastic for creating thick, almost sculptural effects with a technique known as impasto.
Picture this: you're painting a mountain goat perched on a rocky cliff. Instead of painstakingly trying to render every little crevice with a tiny brush, you can load up your palette knife with thick acrylic paint and smear it right onto the canvas. The sharp edge of the knife can sculpt the hard, chiseled planes of a rock, while dragging it can create rugged, unpredictable ridges. It’s a fast, expressive technique for building surfaces with a real physical presence.
Layering Fur and Feathers
When it comes to finer textures like fur and feathers, layering is your best friend. Think about it—very few animals have fur that's just one flat color. It's a rich tapestry of light and dark, long and short hairs. Our job is to build that beautiful complexity, layer by layer.
I always start by blocking in the darkest base colors of the fur. Once that's completely dry, you can start working in the lighter colors with thin, deliberate strokes that follow the natural direction of the fur's growth.
- For soft, shaggy fur: Try a dry brush technique. After loading your brush, wipe most of the paint off on a paper towel. Then, lightly drag the nearly-dry brush over your base coat. This creates a broken, fuzzy texture that mimics soft fur perfectly.
- For sleek, shiny fur: Highlights are key here, and they need to be crisp. A rigger brush is excellent for this. Load it with a slightly thinned, lighter color to paint those individual hairs catching the light, giving the impression of a glossy coat.
My personal go-to for fur is to never use black paint straight from the tube for shadows. Instead, I mix a dark, rich brown using blue and orange. This creates a much more natural and vibrant shadow that harmonizes with the rest of the animal’s coloring.
This patient, layered approach is fundamental to exploring the captivating world of wildlife art. It’s this very attention to detail that breathes life into your subjects.
Creative Tools for Unique Effects
Don't ever feel limited to just brushes and knives. Some of the most effective texture tools might already be hiding in your home. These unconventional items can produce wonderfully organic, random patterns that are nearly impossible to replicate with a traditional brush.
Tool Ideas for Texture
| Tool | Effect Created | Wildlife Example |
|---|---|---|
| Natural Sponge | Dappled, irregular patterns | Mimicking the dappled light filtering through leaves onto a forest floor. |
| Crumpled Plastic Wrap | Veiny, web-like textures | Creating the intricate patterns on a turtle’s shell or the look of cracked mud. |
| Old Toothbrush | Fine, misty spray | Flicking paint off the bristles to create sea spray or the misty air of a jungle. |
Incorporating Texture Mediums
For even more control over your surfaces, you can mix special additives called texture mediums directly into your acrylics. These can completely change the consistency and finish of your paint.
You can find mediums that have a sandy or gritty feel, which are perfect for painting a beach or the dusty ground of the savanna. There are also pumice gels that create a rough, porous surface ideal for things like rocks or tree bark. You only need a small amount mixed into your paint to see a huge difference. These mediums open up a whole new world of possibilities, allowing you to build tactile surfaces that invite your viewers to look closer.
Your Common Painting Questions Answered
Sooner or later, every artist hits a wall. It’s just part of the creative process! But when you're just starting out, finding a clear answer to a nagging problem can feel impossible. I've been there, and I've heard the same questions from countless students over the years.
I put together this little guide to tackle the most common roadblocks I see. Think of it as a chat with a friend who’s a few steps ahead on the path, here to help you get unstuck and back to painting.
How Do I Fix a Mistake?
This is, without a doubt, the number one question I get. The good news is that fixing mistakes is usually much easier than you think. The "how" really comes down to what kind of paint you're using.
For acrylic paintings, the fix is wonderfully straightforward. Acrylics dry quickly and are opaque, which makes them incredibly forgiving. Just let the mistake dry completely. Then, simply paint right over it. Seriously, it's that easy. I once painted the entire wing of a hawk in the wrong position—I just let it dry, painted over it with my background sky color, and started fresh. No one was the wiser!
With watercolor paintings, you have to be a little quicker on the draw. If you catch the mistake while the paint is still wet, you can "lift" the color. Gently blot the spot with a clean, dry brush (I call it a "thirsty" brush) or the corner of a paper towel to soak up the pigment. If the paint has already dried, you can try re-wetting the area and blotting again, but some staining is likely to remain. Watercolor is a bit less forgiving, so it pays to be mindful.
Why Do My Colors Look Muddy?
Ah, the dreaded "mud"—that murky, brownish-gray that shows up right where you wanted a vibrant hue. We’ve all made mud. It almost always happens for one of two reasons: you’ve either over-mixed your colors or you're working with a dirty brush.
When you blend too many pigments together, especially complementary colors like red and green, they start to cancel each other out, creating a dull neutral. It’s just color theory in action.
My personal rule to avoid this is simple: never mix more than three colors together on the palette at once. This forces me to be more intentional and keeps my mixtures looking clean and alive. You'll be surprised how much this one little habit improves the harmony of your finished piece.
The other culprit is a poorly rinsed brush. Get disciplined about your water jars! I swear by the two-jar system: one for the initial, dirty rinse, and a second jar of clean water for the final swish. It’s a small change that makes a world of difference in keeping your colors pure and brilliant.
How Do I Make My Subjects Look 3D?
This is where the magic happens. Turning a flat shape into a believable, three-dimensional animal is what makes wildlife art so compelling. The secret isn’t some complicated, advanced technique; it's all about understanding light and shadow.
A classic beginner mistake is painting what’s called the "local color"—the flat brown of a deer's coat or the simple gray of a wolf's fur. To create a sense of form, you need to think like a sculptor. First, decide on your light source. Where is the light coming from? Once you know that, everything else falls into place.
- Highlights: These are your brightest spots. Add dabs of lighter color where the light would hit your subject most directly—think the top of a muzzle, the curve of a shoulder, or the glint in an eye.
- Shadows: These are your darkest areas. Place them where the form turns away from the light. This could be under the animal's belly, the far side of a leg, or the deep crease of a neck muscle.
This simple contrast between light and dark is what tricks the viewer's eye into seeing a solid, rounded form on a flat canvas. If you want to practice, just take an apple and set it under a single lamp. Try to paint not just the apple, but the bright highlight and the dark shadow. That one exercise will teach you more about creating form than reading a dozen books.
At William Tucker Art, we believe art is a journey of discovery. Explore our collections of wildlife paintings and fine art prints to see how these techniques come to life and find your own inspiration.